 |
|
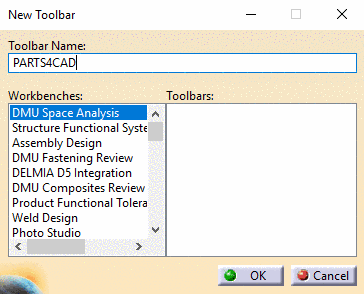
Make right-click on a toolbar.
Make sure that the checkbox of the PARTS4CAD toolbar is activated.
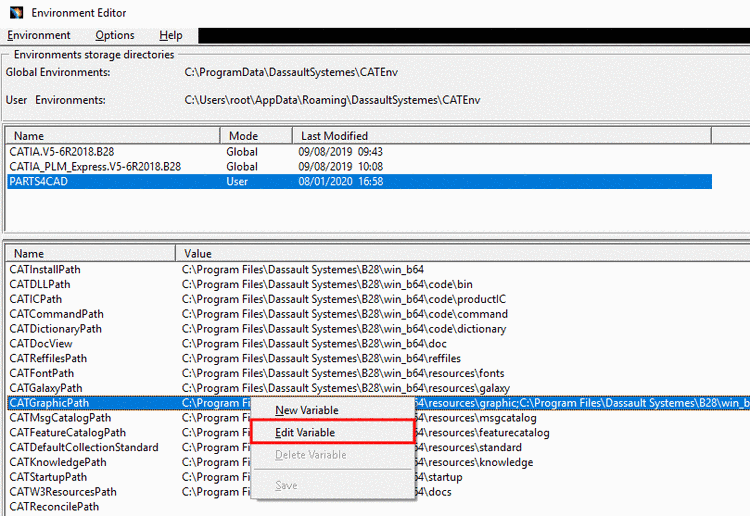
Click on View -> Toolbars -> Customize -> tabbed page Commands and under Categories select Macros.
The dialog area Command Properties is shown.
Optionally, adjust the Title or state an User Alias for the command. (The entry of Title is shown as tooltip.)
Determine the icon connected with the
command which is then displayed in the toolbar. For this click
on the folder icon 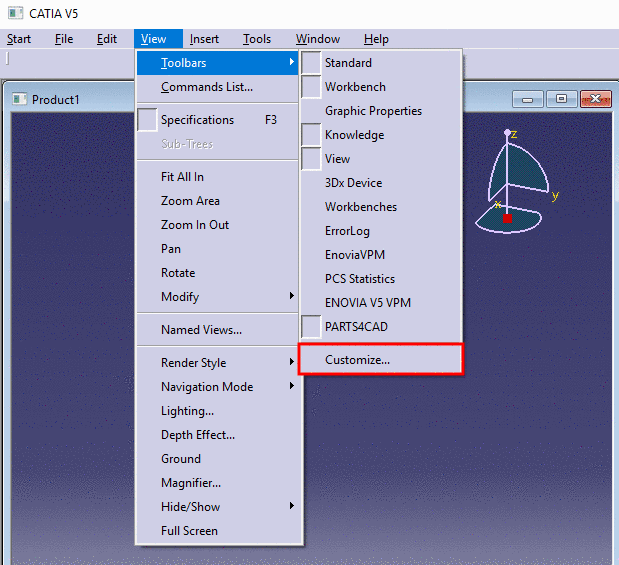 .
.
-> An Explorer window is opened.
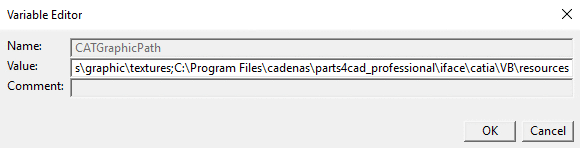
Browse to the resources folder of
the interface and choose the desired icon.
C:\Program Files\cadenas\parts4cad_professional\iface\catia\VB\resources
-> A preview of the icon is shown in the Customize dialog box.
Add the respective icons to the PARTS4CAD toolbar via drag & drop.