5.12.11.28.5.
Creare un sistema di classi per i filtri (plugin)
5.12.11.28.5.3. Procedura |  |
| Indietro | Avanti |
Eseguire il comando Crea sistema di classi per i filtri [Create class system for filters] (sotto Automazione [Automation] ) nella directory principale del catalogo o in una qualsiasi sottodirectory.
A questo punto, èpossibile selezionare un rapporto esistente nel campo dell'elenco e caricarlo facendo clic su . In questo modo si risparmia molto tempo rispetto alla generazione di un nuovo report, soprattutto per interi cataloghi. Nel caso di una nuova installazione, nel campo dell'elenco non viene visualizzato nulla. Tuttavia, è possibile utilizzare .. per navigare nella directory dei rapporti, che viene aperta immediatamente.
Facoltativo: rimuovere lo stato di qualità PREMIUM/CERTIFIED dai progetti se il nuovo stato è basic-minus [Remove the PREMIUM/CERTIFIED quality status from projects if the new status is basic-minus].
Facoltativo: scrivere risultati di qualità nel progetto [Write quality results into the project]
-> Il calcolo viene avviato per la directory selezionata nella struttura e viene visualizzato l'avanzamento.
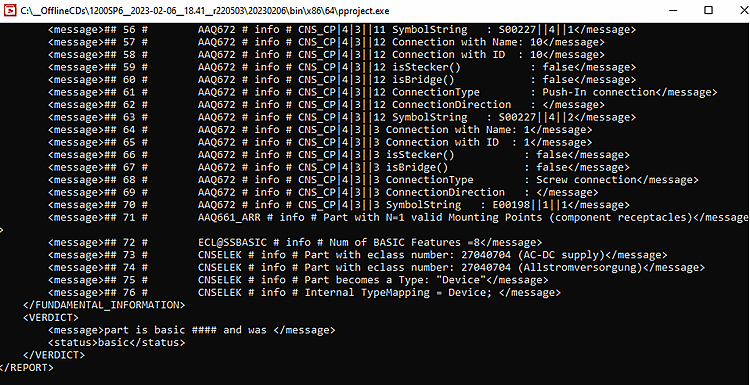
-> Allo stesso tempo, si vedranno i dettagli del registro corrispondente in una finestra di comando.
Al termine del calcolo, si apre la finestra di dialogo Rapporto di convalida ECLASS esteso [Extended ECLASS validation report].
La tabella mostra le colonne Numero articolo, File progetto, Stato, Percorso progetto e MIDENT.
Non appena si seleziona un codice articolo, i dettagli, in particolare le voci che impediscono a un prodotto di raggiungere un determinato stato, vengono visualizzati sul lato destro dell'area di dialogo Rapporto [Report]. I dettagli sono riportati di seguito.
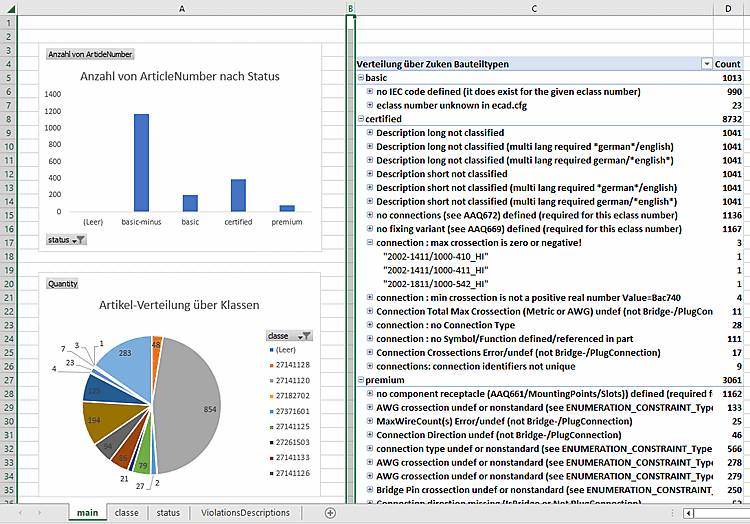
L'area di dialogo Statistiche [Statistics] mostra la distribuzione percentuale degli articoli nei livelli di certificazione premium, certificato, base-meno e base.
Il pulsante si apre nella finestra di dialogo Directory utente sotto "validator_reports" l'attuale Report e copia il file modello
statistics.xlsxal suo interno.Il pulsante apre la directory dei rapporti corrente nella directory utente sotto "validator_reports".
![[Nota]](https://webapi.partcommunity.com/service/help/latest/pages/it/partsolutions_user/doc/images/note.png)
Nota Se si chiude la finestra di dialogo facendo clic su , è possibile riaprirla solo eseguendola nuovamente. Tuttavia, la visualizzazione della finestra di dialogo non rappresenta un vantaggio, poiché è possibile accedere a tutte le informazioni tramite la visualizzazione di Excel e ai file XML, di testo e CSV generati nella directory del report. Sezione 5.12.11.28.5.4, “Valutazione” Vedere .
Fare clic sul pulsante . (Se appare un messaggio di errore, significa che c'è un errore nelle impostazioni. Sezione 5.12.11.28.5.2, “Requisiti / Impostazioni / Note” Vedere .)
-> In
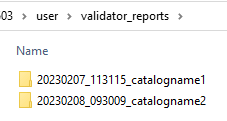
$CADENAS_User, la directory "validator_reports" e il filestatistics.xlsxnel file Directory di report dell'esecuzione corrente copiata.Sotto
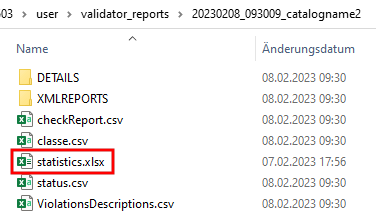
$CADENAS_USER/validator_reportsla directory di report desiderata.Fare doppio clic sul file Excel
statistics.xlsx.Oltre a
statistics.xlsx, ci sono i Dati dei risultati dell'esecuzione del test, sulla base dei quali la rappresentazione in Excel È.Sezione 5.12.11.28.5.4, “Valutazione”I dettagli dei file contenuti nella directory dei rapporti sono disponibili all'indirizzo .
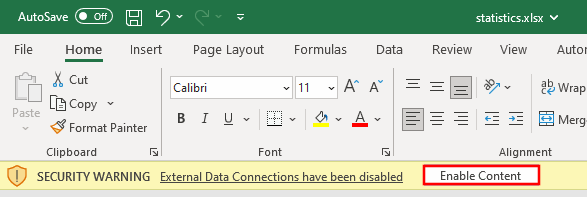
Attivare il contenuto per poter aggiornare le statistiche utilizzando i file CSV dell'ultimo controllo.
Selezionare singolarmente ogni diagramma e ogni tabella e utilizzare Alt+F5 per aggiornare la visualizzazione con i dati di prova più recenti.
![Creare un sistema di classi per i filtri [Create class system for filters]](https://webapi.partcommunity.com/service/help/latest/pages/it/partsolutions_user/doc/resources/img/img_ebadecb1c7b541e69edead1bae06c0f0.png)
![Dialogo "Creare un sistema di classi per i filtri [Create class system for filters]"](https://webapi.partcommunity.com/service/help/latest/pages/it/partsolutions_user/doc/resources/img/img_22a47a87637d47aa8d4532b5bb2d6336.png)


![Rapporto di convalida ECLASS esteso [Extended ECLASS validation report]](https://webapi.partcommunity.com/service/help/latest/pages/it/partsolutions_user/doc/resources/img/img_b49223674f76474aa2ba471fc7467e39.png)