![[Note]](https://webapi.partcommunity.com/service/help/latest/pages/en/3dfindit/doc/images/note.png) | Note |
|---|---|
The setting for the Select role dialog box is role dependent, so has to be defined for each role separately. | |
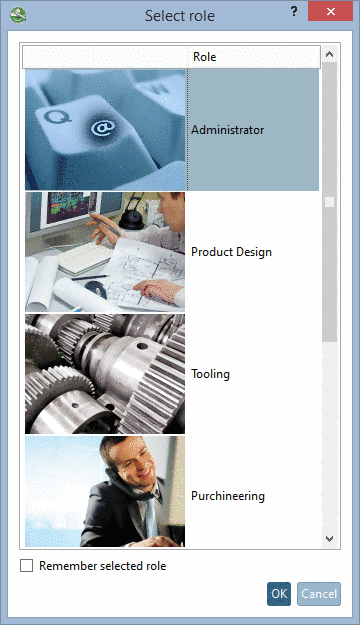
You can specify an image and a description.
If several roles
are available for a user, the dialog box Select role opens when starting the
application. Furthermore it can be called anytime via button Select group  .
.
Setting in
configuration file $CADENAS_SETUP/plinkgroups.cfg:
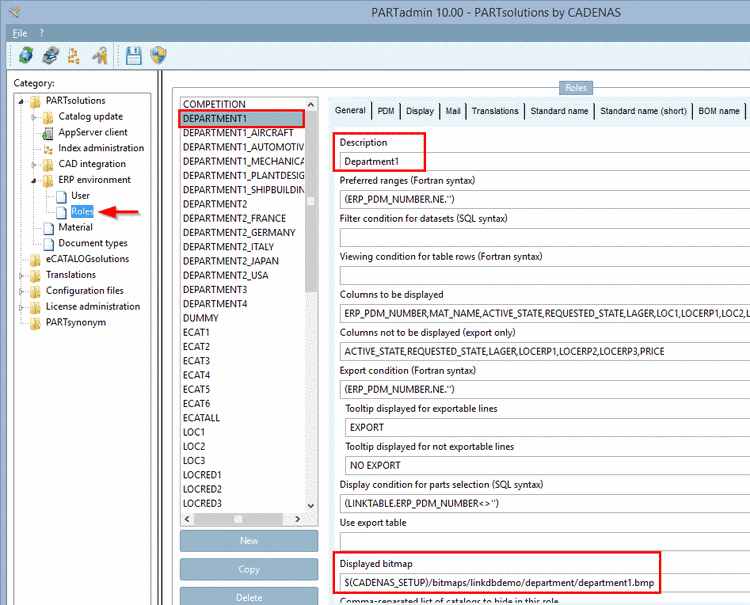
Block [<role name>], key DESC, value contains description text; key IMAGE, value contains image path
[DEPARTMENT1]
...
DESC=Department1
...
IMAGE=$(CADENAS_SETUP)/bitmaps/linkdbdemo/department/department1.bmp
...
Setting in user interface under PARTadmin -> category Roles -> tabbed page General -> Description and Displayed bitmap
![[Tip]](https://webapi.partcommunity.com/service/help/latest/pages/en/3dfindit/doc/images/tip.png) | Tip |
|---|---|
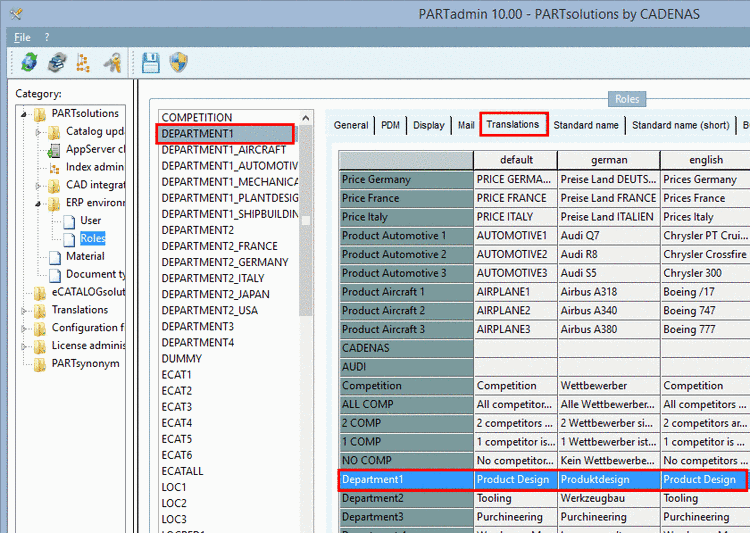
Just specify a simple placeholder under "Description". It can be translated into the desired languages. | |
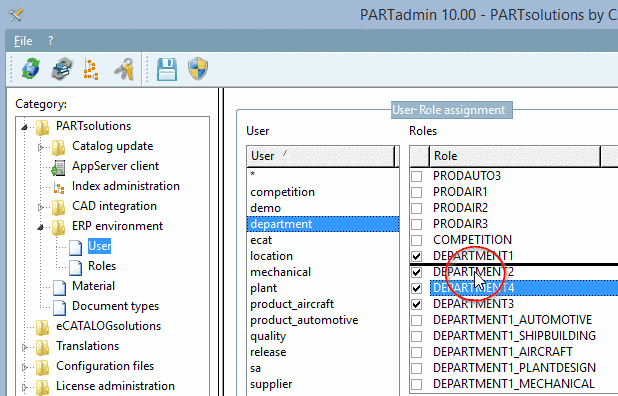
Determine sorting sequence of roles in the dialog box "Select role"


