
In order that the corresponding button is displayed, must be placed in
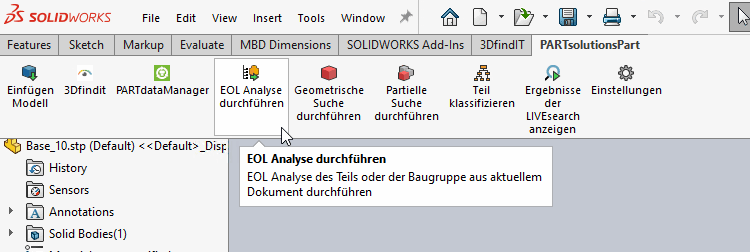
infacecommon.cfg> blockUIfollowing keys Be activated:[UI] MN_eolscan_DisplayText=EOL Analyse durchführen MN_eolscan_DisplayShortText=EOL Analysieren MN_eolscan_HelpText=EOL Analyse des Teils oder der Baugruppe aus aktuellem Dokument durchführen MN_eolscan_SmallIcon=:/cadresource/icons/docscan_CAD_16x16.png MN_eolscan_LargeIcon=:/cadresource/icons/docscan_CAD_24x24.png MN_eolscan_XLargeIcon=:/cadresource/icons/docscan_CAD_32x32.png MN_eolscan_Environment=menu,asm,part,toolbar MN_eolscan_Callback=eolscanner.execute()
In the corresponding CAD interface file must
if<cadname>.cfgunder block [ UI ] > key MN_valid added the value eolscan become.-> In the 3Dfindit menu, the Perform EOL analysis button is now also visible.
See also Section 1.7.4.5, “ eol.cfg and eolphases.def ”, Section 1.7.4.15.3, “ Block [EOLService] - Show/hide lines to be avoided ”.