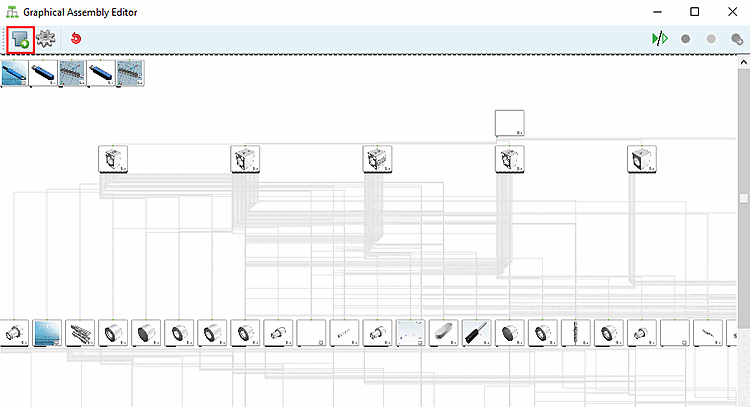
The small example shows how to insert a new part in an existing Assembly and to connect via rule.
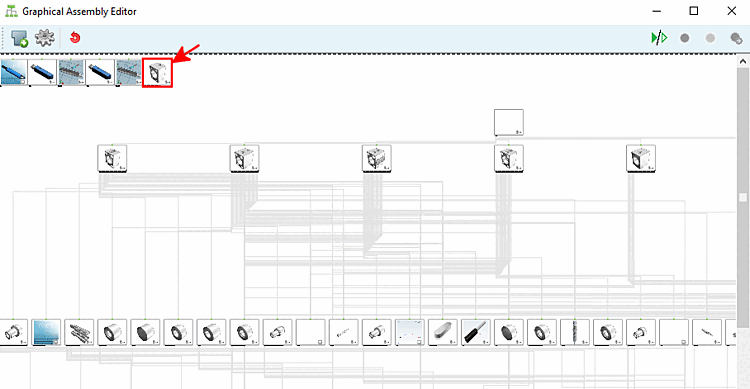
Click on the Insert component [Add Part] button
 button in the toolbar.
Select the desired part in the Explorer and click .
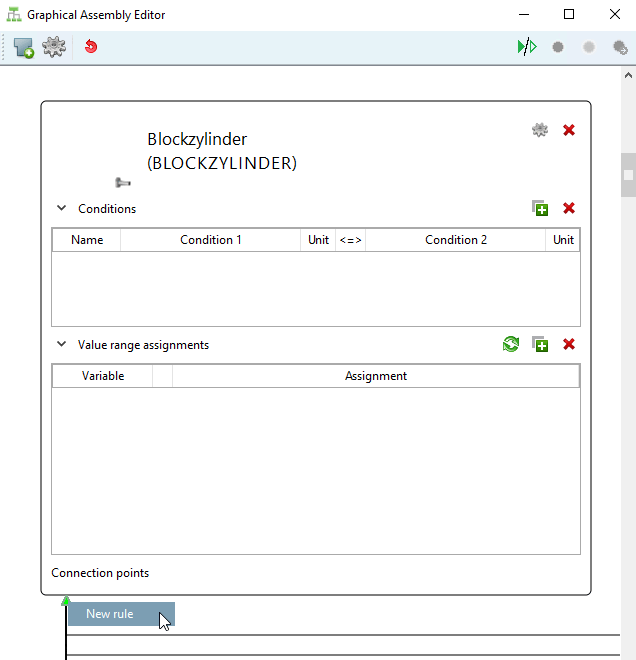
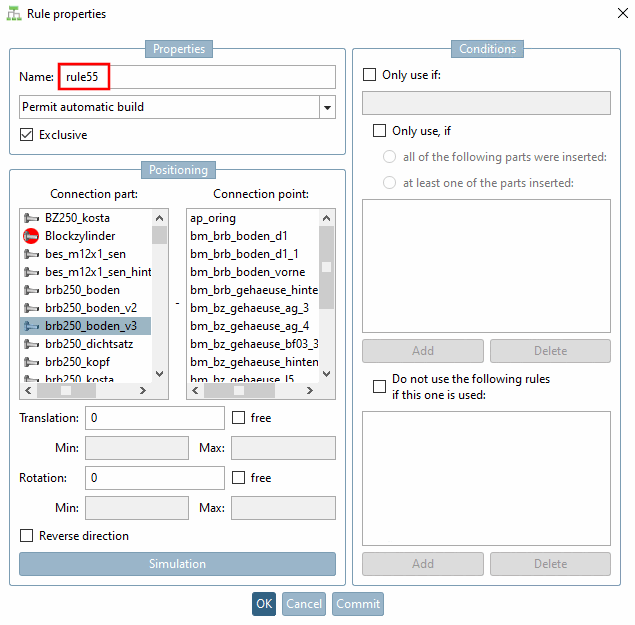
-> The Part properties dialog box opens.
Enter a unique name under Description and Formula name [Equation name] and confirm with .
-> First the part is inserted top left in the Editor.
Select the connection point of a part to which it is to be connected using a rule and then click on the New rule context menu command.
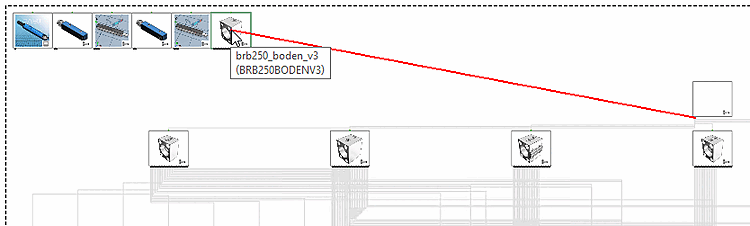
-> A red line is attached to the cursor starting from the selected connection point.
Move the line to the newly inserted part and perform a click on the part or one of its connection points.
If you clicked on the part, it is already selected under Connection part. If you clicked on a connection point, the setting has already been made both under Connection part and Connection point.
When the part and point are selected, confirm with .
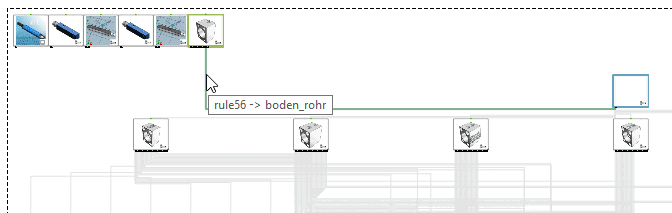
-> The edge between source and target part is displayed.
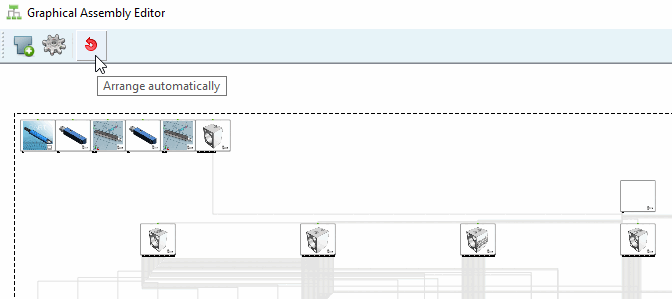
Click on the Arrange automatically button
 .
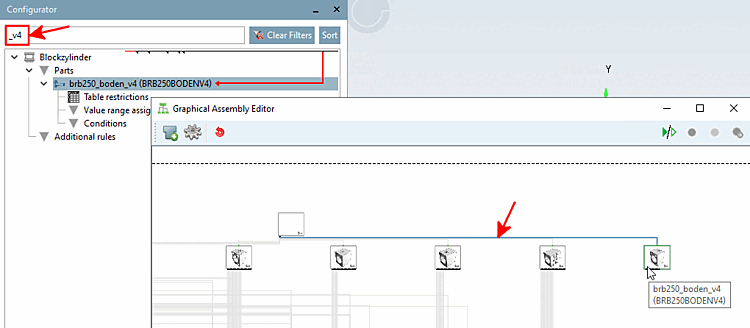
.Use the search function in the configurator [Configurator] to quickly find the arranged part in a large assembly.