|
PART2cad (direct integration) simplifies the download of CAD models. They are loaded quickly and directly into the CAD system. Temporarily saving of parts is not necessary.
![[Note]](https://webapi.partcommunity.com/service/help/latest/pages/en/installation_ecatalogsolutions/doc/images/note.png) | Note |
|---|---|
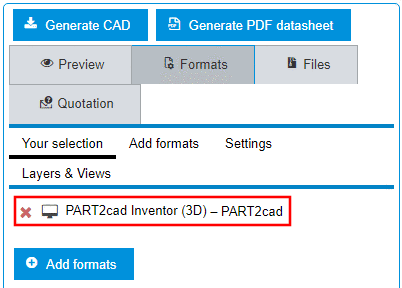
Precondition : Under Formats ➝ ➝ CAD Direct Integration with PART2cad a format had been chosen which is displayed under Your selection.
| |
Make sure that the desired part is specified in the Table view (and in the Variable view if there are value range fields).
Generate the part by clicking on the button or .
➝ Once the generation finished, the part is displayed on the tabbed page Files.
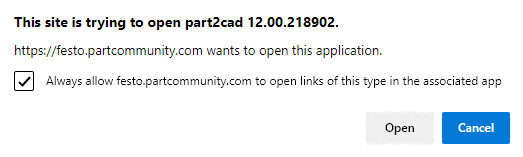
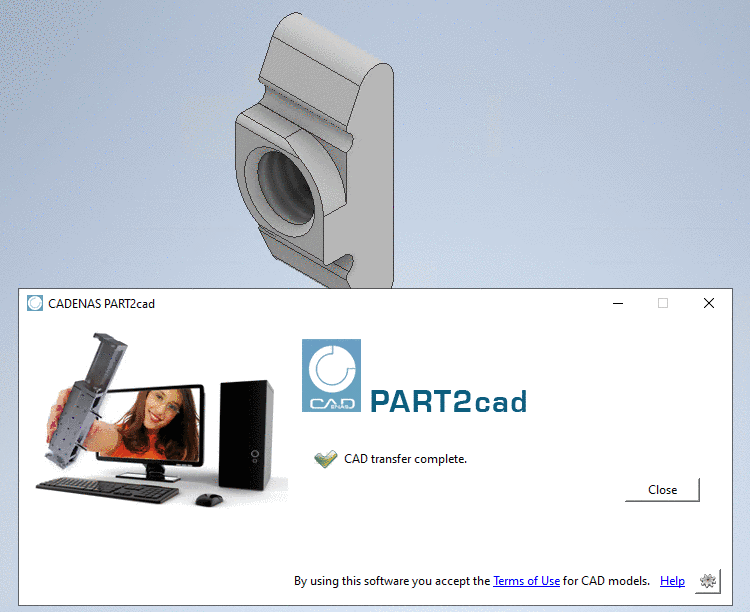
The direct integration is starting and a respective message appears.
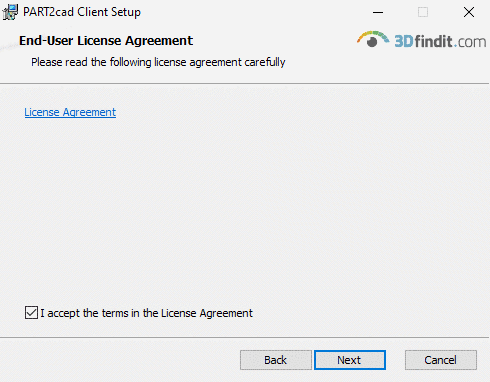
If the application component PART2cad is already installed, you can ignore the following installation note. Otherwise follow the instructions.
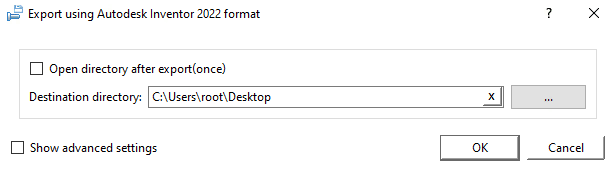
Open the list field and select the CAD version where the model is to be transferred. Confirm your selection by clicking on .
➝ The export dialog is opened.
Select the preferred destination directory. Use to browse. Confirm your entries by clicking .
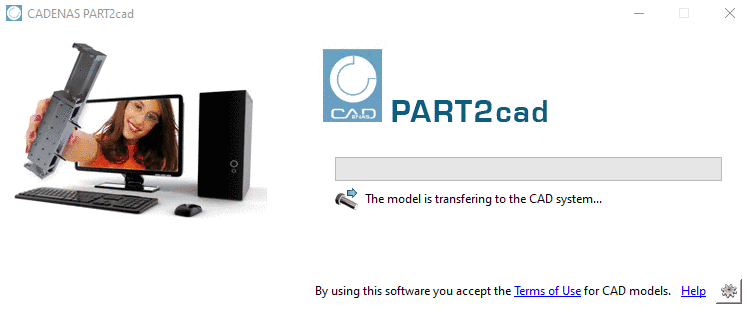
➝ The model is transferring to the CAD system.