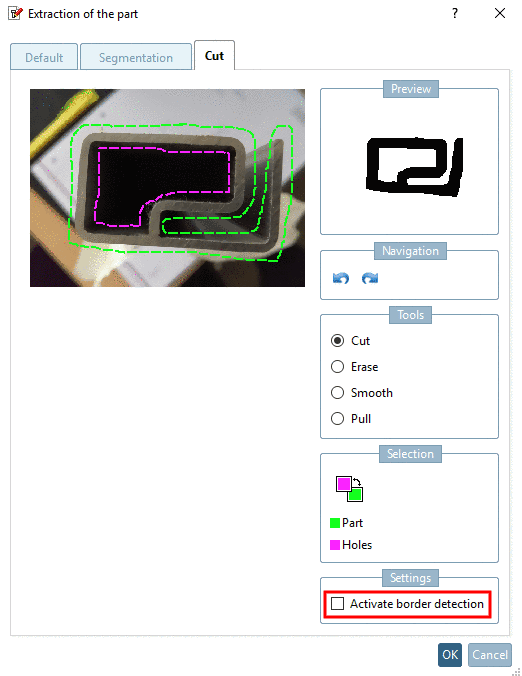
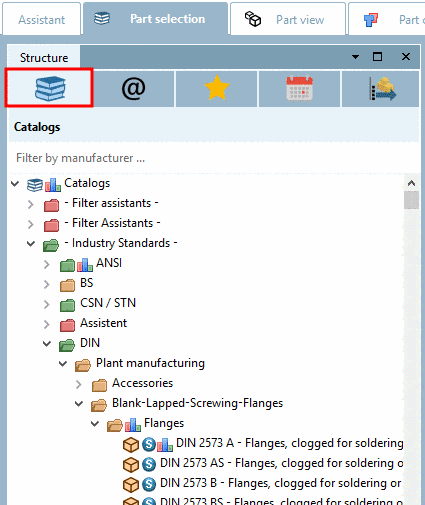
 |
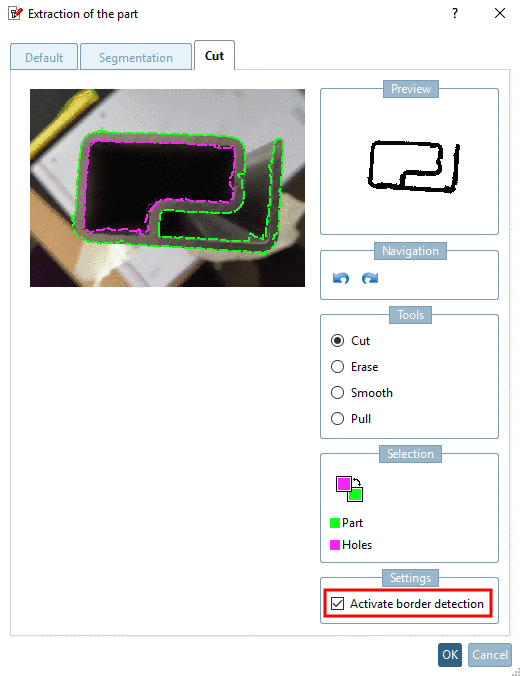
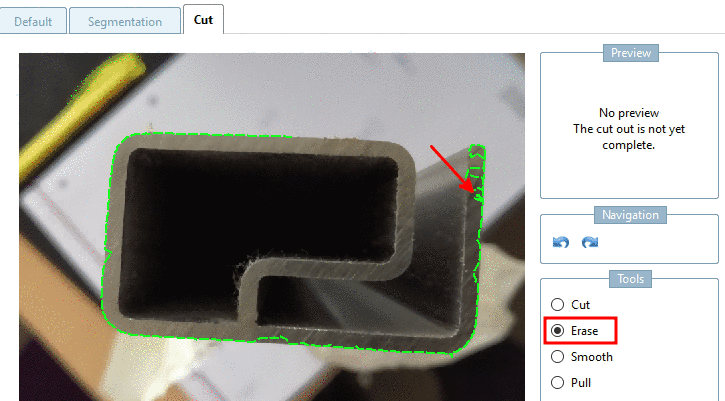
Mark the outer (green = part) and inner contour (purple = holes) of the part, either as freehand line or with the option Activate border detection (mostly better).
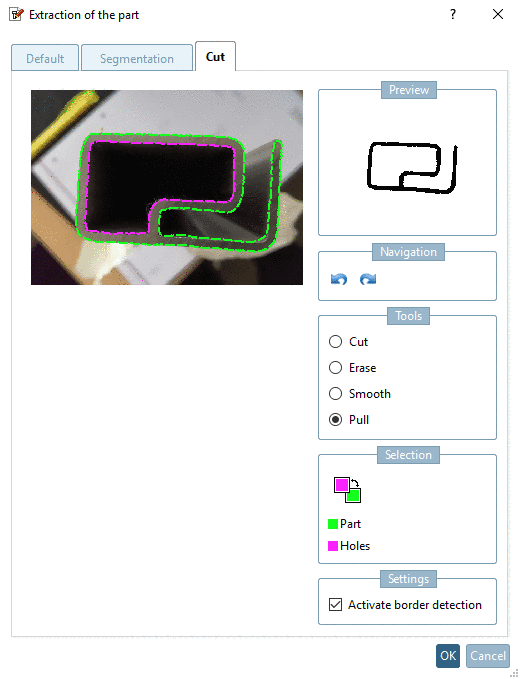
For this you can use the tools Cut, Erase, Smooth and Pull:
Erase: Erase only works at the end of a line (not between).
Click on the end of the desired line and erase along the line with pressed mouse key.
Line Points are moved to the expected average value between previous and subsequent point.
Pull line points closer to the mouse pointer. When clicking outside of the contour, you will pull it outward, when clicking inside then inward. Each click brings the line closer to the mouse pointer.
![[Note]](https://webapi.partcommunity.com/service/help/latest/pages/en/partsolutions_user/doc/images/note.png)
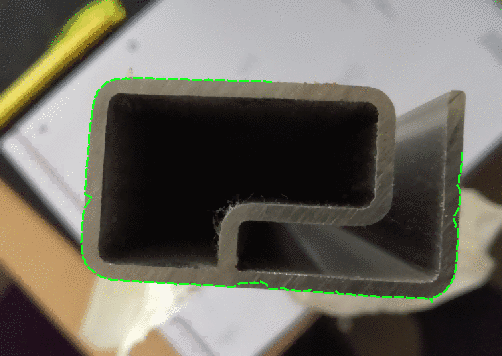


Activate border detection: If the option is deactivated, please try to follow the contours as exactly as possible. The result will be taken as it is.
Normally a good result is easier achieved with activated option.