5.24.3.4.1. Create certificates on the customer side
5.24.3.4.1.1. Request certificate with active auto-enrollment
|  |
| Prev | Next |
If the customer has auto-enrollment active, requesting a certificate is simple:
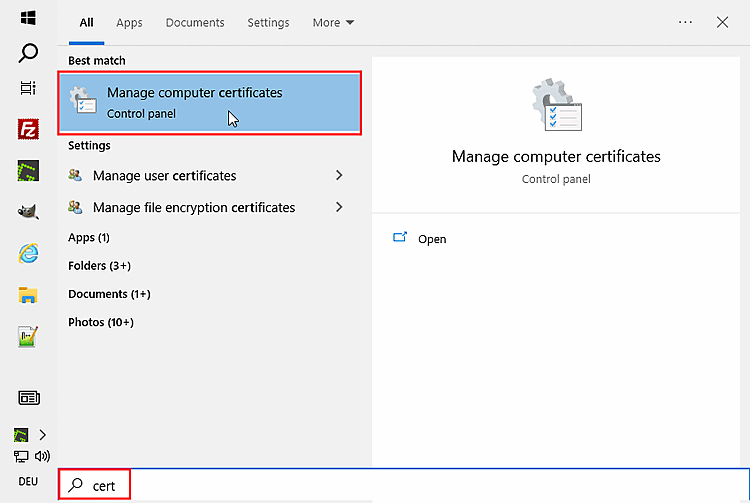
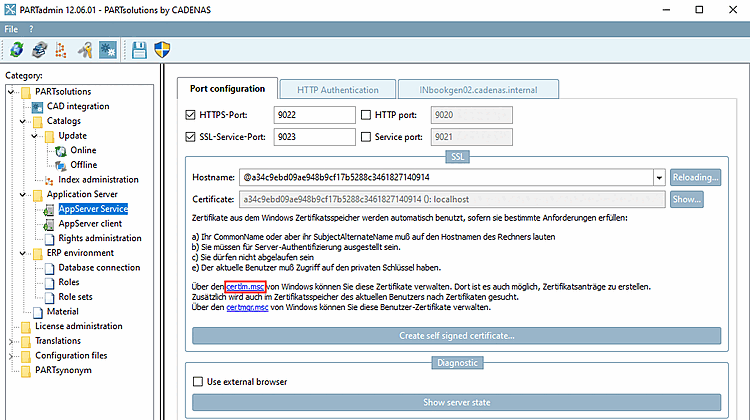
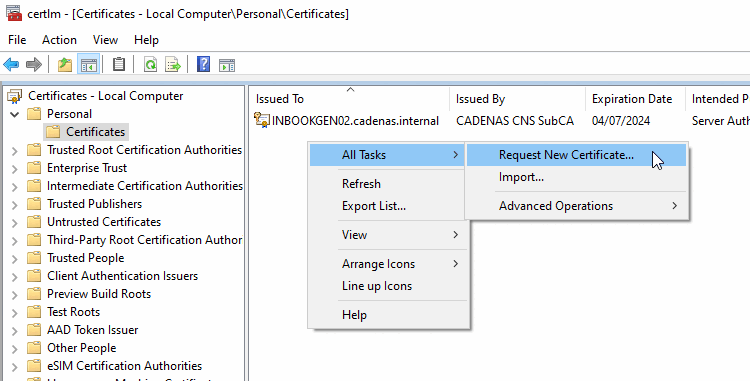
In certlm [Certificates - Local computer] under My certificates -> Certificates -> All tasks, click on Request new certificate....
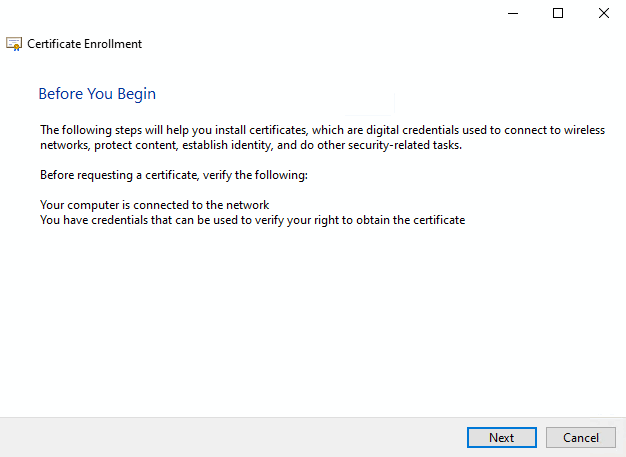
-> The Certificate registration -> Preparation dialog opens.
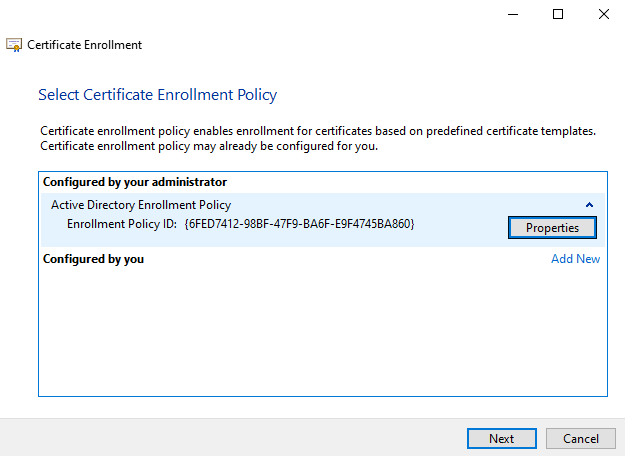
-> The Certificate Enrolment > Select Certificate Enrolment Policy dialog opens.
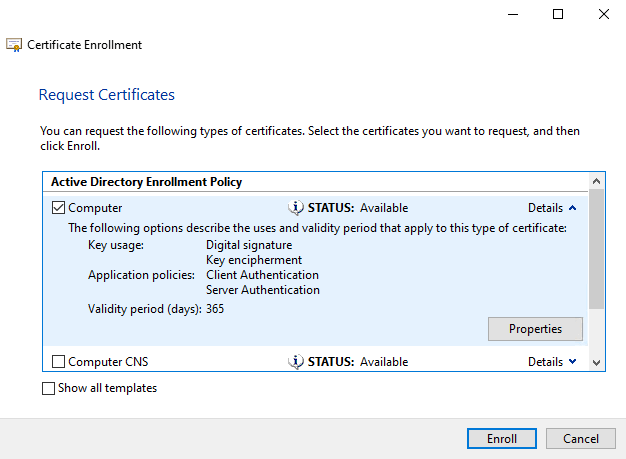
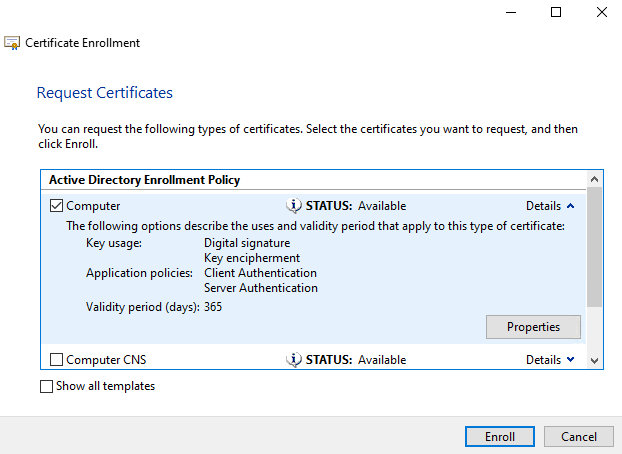
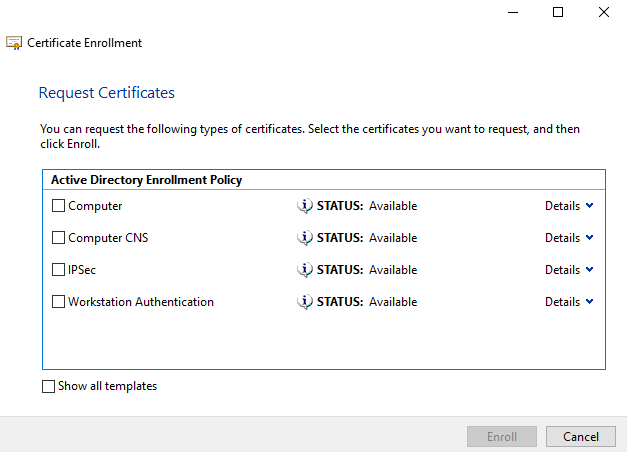
-> The Certificate registration -> Request certificates dialog opens.
Activate the checkbox under Computer, open the details and click on the button.
-> The Certificate properties dialog is displayed.
Set respective entries on all tabbed pages.
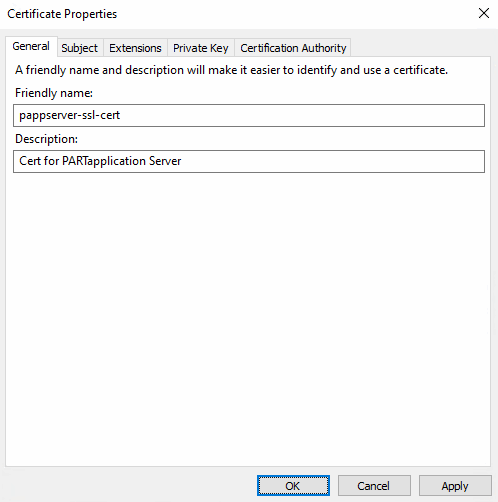
General tab page: Specify the display name and description of the certificate.
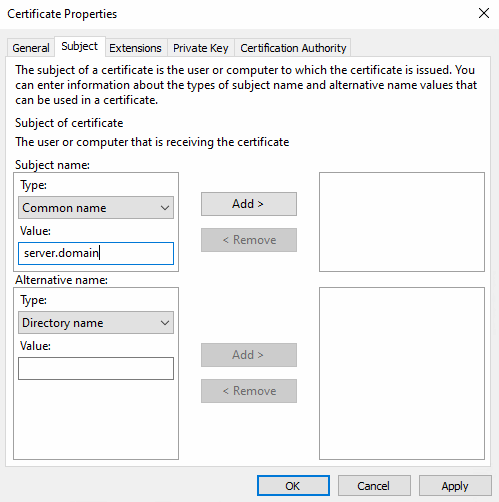
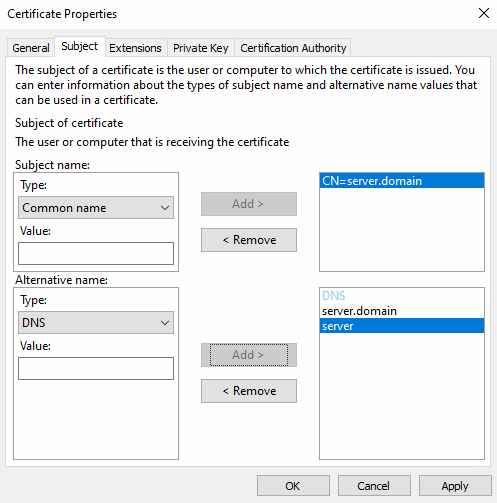
Under Applicant name -> Type, select the option General name and enter the following under Value:
server.domain
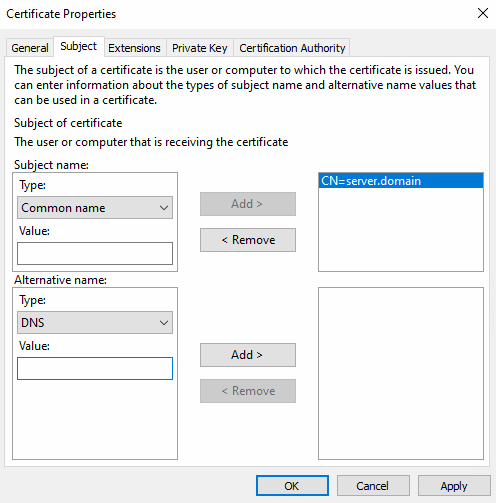
-> Now on the right side, the value "CN=server.domain" is displayed.
Under Alternative name with type "DNS ", add all variants of the server host name and click in each case.
-> The values are displayed on the right side.
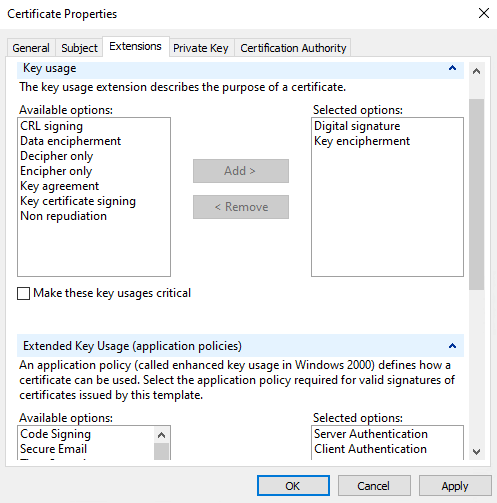
Extensions tab page: Verify that the following key usages are selected:
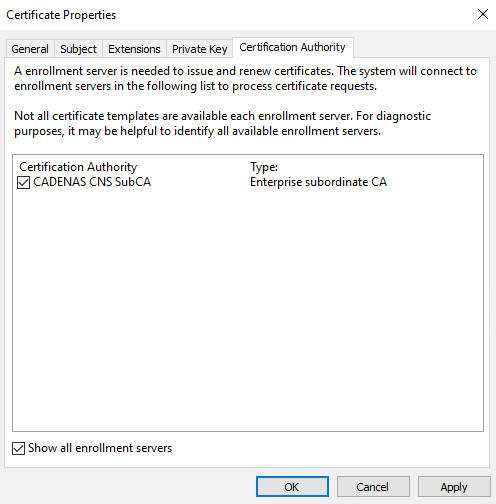
Certification authority tab page: Select the certification authority that is to sign.
-> The Certificate properties dialog is closed and the Certificate registration, Request certificates dialog is displayed again.
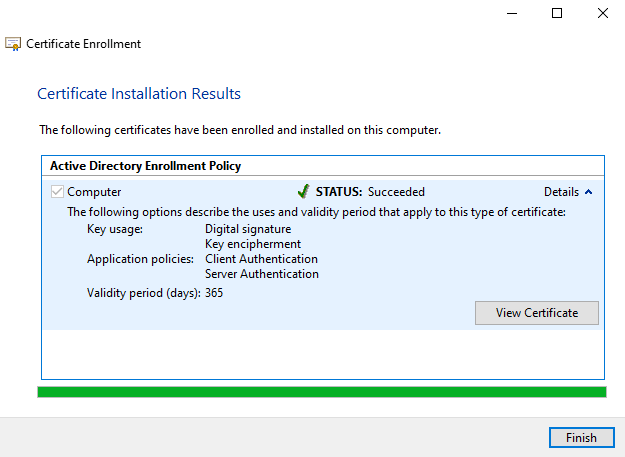
-> Now you should have your new server certificate already in the store.
![[Important]](https://webapi.partcommunity.com/service/help/latest/pages/en/partwarehouse/doc/images/important.png)