The function Generate deeplinks can be used in order to create deeplinks and to directly link products on other pages and lead users, via this link, to a specific part or part family in a PARTcommunity portal.
This function provides a CSV file and/or the deeplink "packed" in a QR code. For this fill out the fields of all dialog areas.
Furthermore the function can be used in order to write all table variables or a specific selection of it or project variables in a CSV file (similar to function Section 5.8.2.1.14.9, “ Create CSV table ”, however, with more options). In this case, only the fields up to area Columns have to be filled.
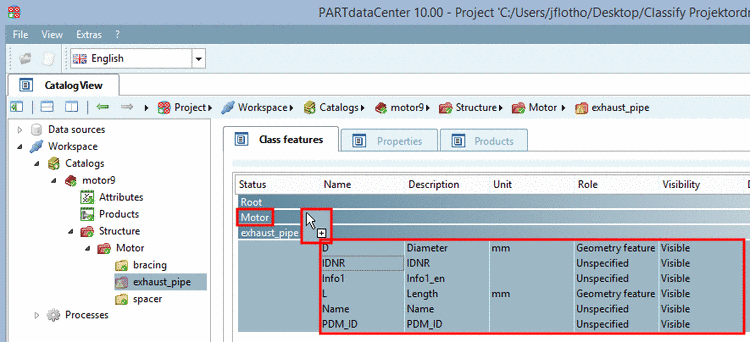
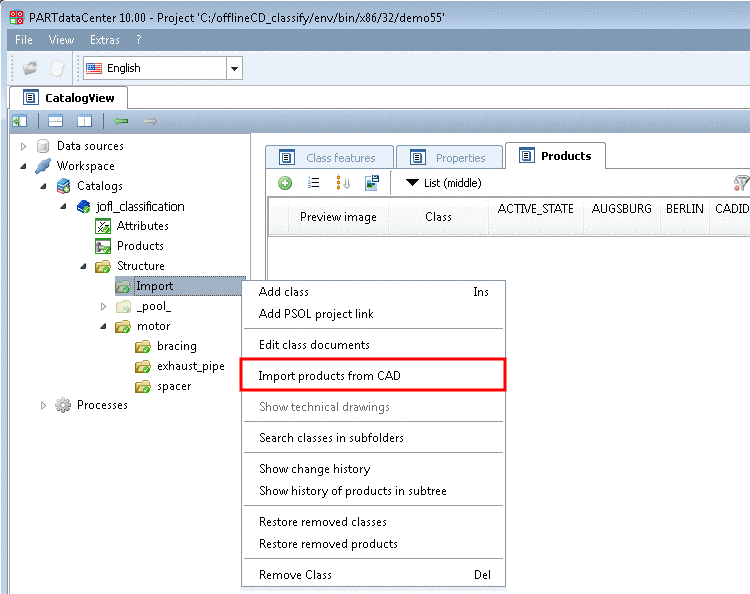
Call: The call happens via context menu command on the catalog root element, any subdirectory or project under Output -> Generate deeplinks.
Deeplinks generator dialog: The above exemplary output has been generated with settings as is shown in following figure.
Activate the checkbox for CSV and/or QR.
In order to link to your website not only deeplinks are possible but also QR code. Therefor activate the checkbox QR.
Then for each deeplink an individual QR image is created and saved in the specified directory.
Save path: Specify the target path for the directory where to store the CSV file and the QR code images.
Value ranges (compare Section 7.8.12, “ Value ranges ”):
Resolve distance value ranges / Stepping:
Processing of "from-to" value ranges
Example: For example, if HUB [0:100/0.1] is stated then that means the stroke can be selected in the range from 0 to 100 in steps of 0.1 mm.
When entering "1" each possible step within the value range is resolved, with "5", every fifth step, with "10" every tenth step, etc.
Information on this can be found under Section 7.8.13, “ Identification type ”.
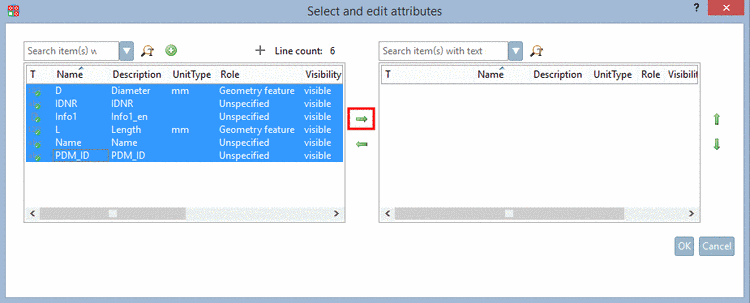
Columns: State all columns which shall become part of the CSV file.
When using the function as Deeplink generator, the entry "CNS_DEEPLINKPCOMMUNITY" is mandatory. Optionally, other columns can be stated. (Compare above output example.)
CNS_DEEPLINKPCOMMUNITY | PARTcommunity-Link
Following variables can be entered separated by comma in the input field. You don't have to memorize the exact variable names. Simply select them via context menu. Furthermore also the input of table variables or "CNS_" project variables is possible.
CNS_MIDENT (MIdent - unique string built from all variables including value range variables)
CNS_ORDERNO (Order number) - The variable stated in the field Variable with order number is automatically used.
CNS_TYPECODE (Type code) - The variable stated in the field Variable with Type Code is automatically used.
CNS_ORDERNO_TYPECODE (Order number/type code): At first ORDERNO is requested; if this is an empty string TYPECODE is used.
Name of the PARTcommunity portal:
Please enter the name of the portal (e.g. cadenas or cadenas-embedded)
A PARTcommunity link integrates the entered catalog name (e.g. "https://cadenas.partcommunity.com?info=..."), followed by respective parameters.
A domain can be specified (e.g. www.cadenas.de).
This option enables the creation of links to any portals.
The entered domain is prefixed to the parameters (e.g. "https://www.cadenas.de?info...").
A complete freely definable URL is entered.
https://www.cadenas.de/?catalog=$CNS_CATALOG.part=$CNS_ORDERNO.
catalogname-embedded.partcommunity.com?catalog=catalogname&
 part=$CNS_ORDERNO_TYPECODE.
Select an option from VARSET | With RowID and SubID | Order number.
This option enables free input of variables. If uniqueness of a deeplink is ensured (for example if option Custom link is used), the field can remain empty, otherwise uniqueness has to be ensured by entering appropriate variables, unless only part families shall be linked.
The deeplink is assembled with the entered variables.
Calculated variables such as NB should not be used. The MIdent (CNS_MIDENT) for example, contains all variables including value range variables and so is suitable to ensure uniqueness.
In order to select the desired variables it is recommended to use the context menu of the input field (see below).
With this option, uniqueness is ensured. Stating more variables in the input field is not required.
In PARTproject, under Edit project -> tabbed page General -> menu item Variables -> Variable with Order Number or Variable with Type Code, a variable has to be classified.
Via order number or type code uniqueness is ensured. Input of other variables is not required.
Once the command is executed, in the catalog root directory, the file
htmbatch_deeplinks.cfgis created and the settings from the dialog are saved there. Vice versa, when clicking on this file is read.When the
deeplinks.csvis generated (in the course of the catalog publication/generation), the settings saved in the filehtmbatch_deeplinks.cfgare used. For catalog publication see Section 6.10, “ Publish catalog ”.On the portal, the
deeplinks.csvcan be downloaded packed asGlobalTable.zip, so it does not have to be generated with the Deeplinks generator again (unless changes have been made and you want them to be provided at the next publication).Details on possibly required portal settings can be found in the "PARTcommunity Administration" manual, which can be downloade/opened under
cadenas-admin.partcommunity.com-> Management.
On this see
PARTcommunity User
Guide. In order to download/open the respective PDF file, under
cadenas-admin.partcommunity.com,
select the item Management.


