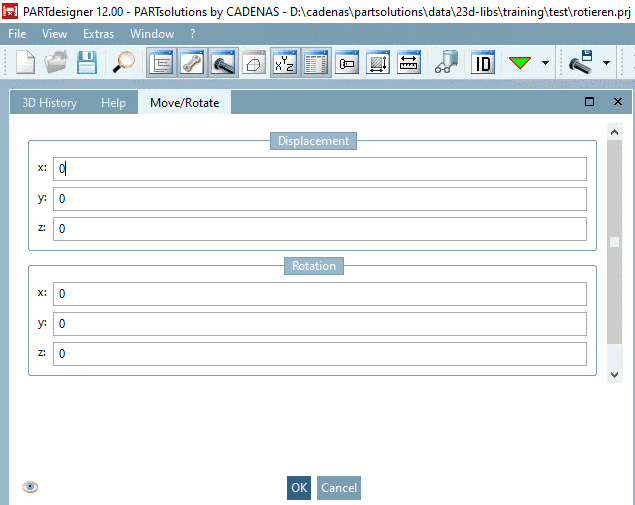
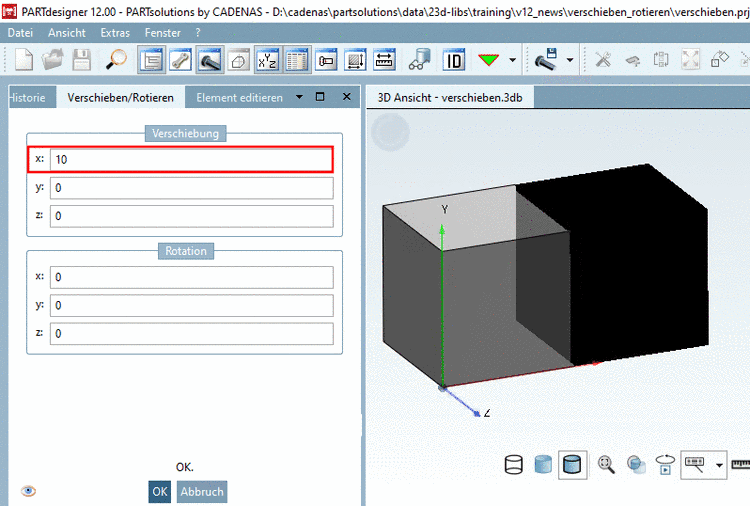
When clicking on Move/Rotate..., the same-named dialog box is opened.
By input under Displacement and Rotation, you can position the part in space. The orientation of the coordinate system remains untouched by this,
![[Note]](https://webapi.partcommunity.com/service/help/latest/pages/en/ecatalogsolutions/doc/images/note.png) | Note |
|---|---|
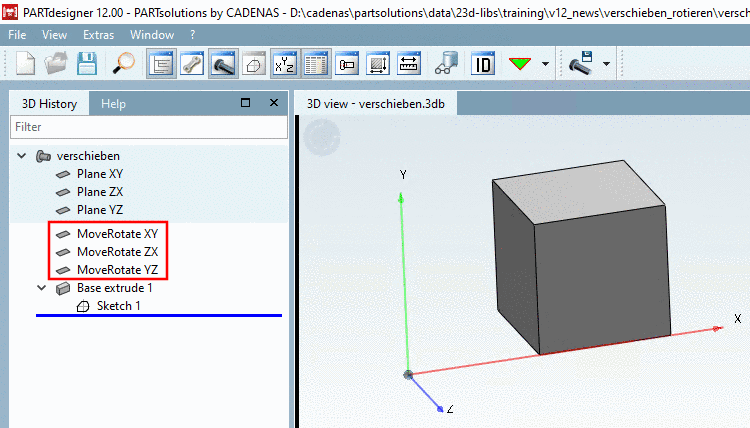
When using Move/Rotate..., dependencies are possibly created, so may be there is no simple "Undo". Please regard the dependencies when deleting automatically created planes.
| |
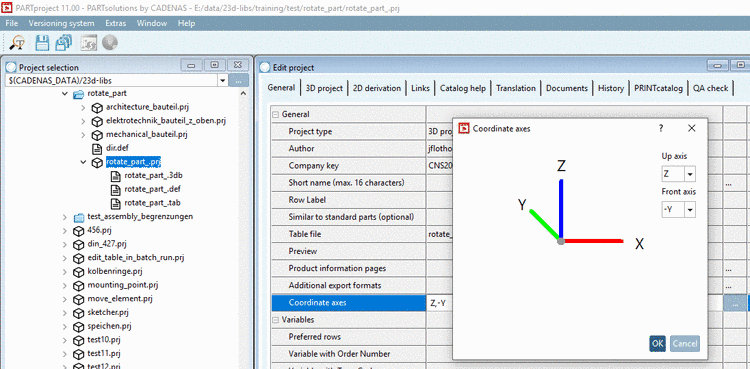
The use of Rotate is possibly in relation with a manipulation of the coordinate system (PARTproject -> Edit project -> tabbed page General -> General -> Coordinate axes). On this see following example:
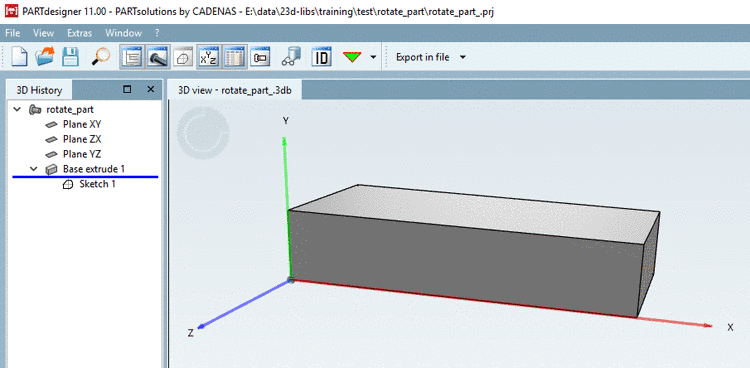
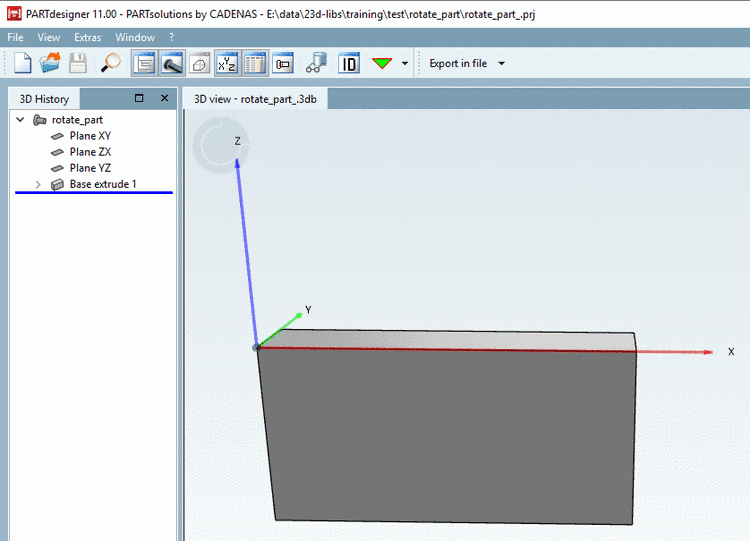
Initial situation: Part modelled in eCATALOGsolutions, Y axis incorrectly showing upwards.
Requirement: The part shall keep its lying position within space, but the coordinate system shall get a new orientation with Z axis showing upwards.
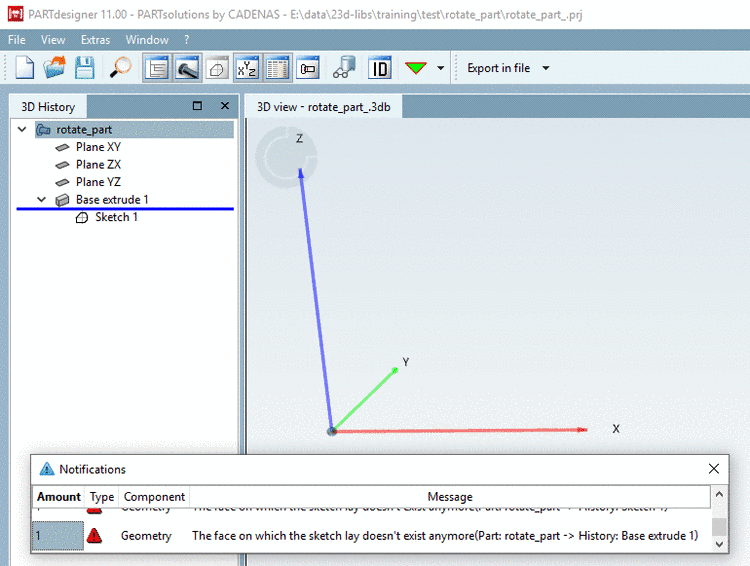
The coordinate system gets a new orientation in PARTproject via function Coordinate axes, so that the Z axis shows upwards and the Y axis backwards.
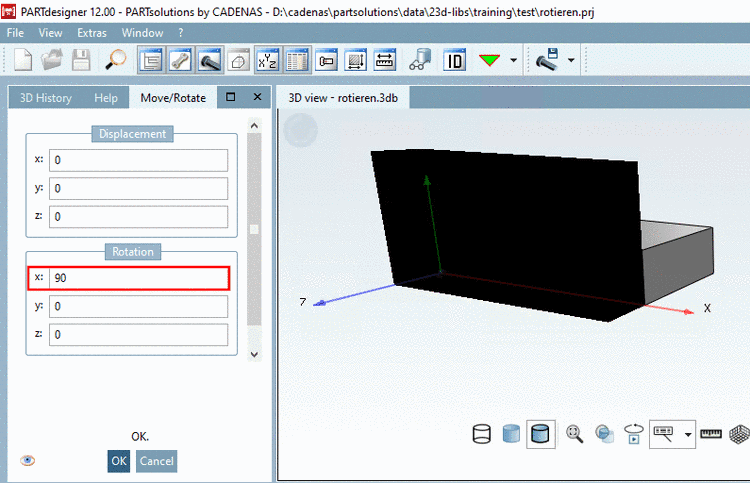
In PARTdesigner, via Rotate, the part can be brought into its original position within space.
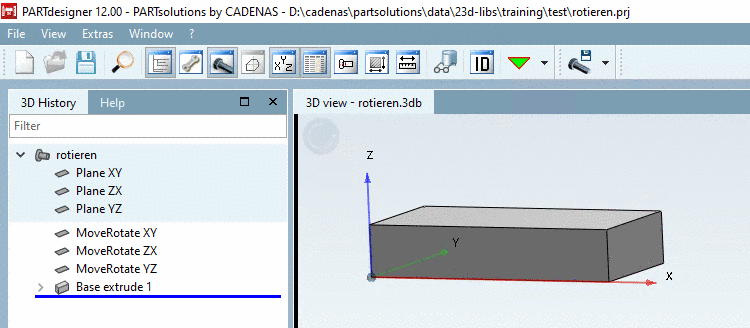
After setting Rotation x: 90 the part is displayed in its original position again. Compare Fig. „Initial situation“.
![[Note]](https://webapi.partcommunity.com/service/help/latest/pages/en/ecatalogsolutions/doc/images/note.png)
Note Rotate in PARTdesigner, only works for standard parts, not for Q&S parts.
The orientation of Q&S parts can be manipulated in the project file. There you can find a string starting with
REF1@MATRIX. Generalized: Calculate rotation matrix and multiply the two matrices. For the calculation, help pages can be found in Internet:http://danceswithcode.net/engineeringnotes/rotations_in_3d/demo3D/rotations_in_3d_tool.htmlorhttps://matrix.reshish.com/de/multiplication.php.The change cannot be viewed in PARTdesigner, but only in PARTdataManager.
![[Note]](https://webapi.partcommunity.com/service/help/latest/pages/en/ecatalogsolutions/doc/images/note.png) | Note |
|---|---|
When executing Move/Rotate... dependencies arise, so that possibly there is no simple "Return". Please note the dependencies when deleting automatically created planes. | |
Depending on which setting you perform, the part is moved "in space":


