
The following explains how to create media variables in PARTproject . Alternatively, these can also be created via PARTtemplateDesigner (see Chapter 8, PARTtemplateDesigner - Create data sheets ).
You create media variables in the Variables dialog area.
Under Project selection, select the project for which you want to create media variables.
Under Settings, select the Media Variable [Media variable] tab page.
Explanations of the user interface
For a better overview, you can filter the rows in the Variables dialog area. Filter options are available above the table:
Filter: Input of variable names with free text input (sensitive to upper and lower case)
Language (middle list field): If no entry is made (white field), all existing languages are displayed; if a language is selected, only the corresponding lines are displayed. By default, select the default option first and create the default language first.
No inherited values: When activated, variables that do not have their own values in relation to the selection under Project selection, but only inherited values, are displayed grayed out.
-> The respective dialog is opened.
Enter the name of the media variable to be created in the input field and select HTMLTEXT.
If you create variables for additional tooltip information in PARTcommunity (see Fig. „Tooltip with additional information on PARTcommunity:“), please use the following scheme:
Variablenname_HELP
You want to create a HELP variable for a BNEB variable: The name must then be BNEB_HELP.
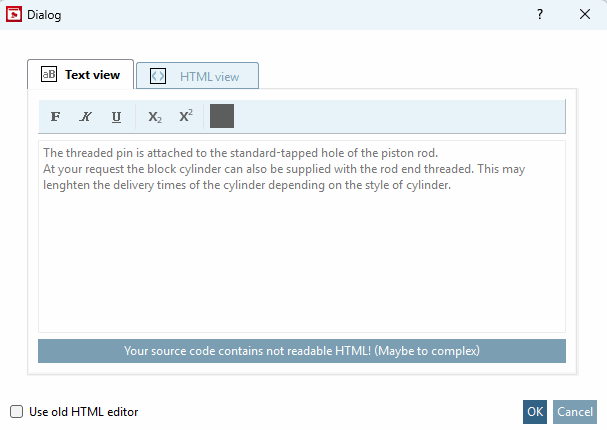
Select the HTMLTEXT option in the list box. With this option, you can also include images and perform basic HTML formatting such as bold, italics, etc.
-> The new Media Variable (key / new line) is displayed.
Select the newly created line and click on the
 Edit button.
-> The respective dialog is opened.
-> The content is taken into the Media Variable.
If the content on PARTcommunity is to be used as additional tooltip information / info button (HELP information), please make the following entry in the project file:
INFO(BNEL)=BNEL_HELP INFO(BNEB)=BNEB_HELP etc
Through this, the icon calling the tooltip information is created.


![[Note]](https://webapi.partcommunity.com/service/help/latest/pages/en/installation_ecatalogsolutions/doc/images/note.png)


Example for additional tooltip information on PARTcommunity:
