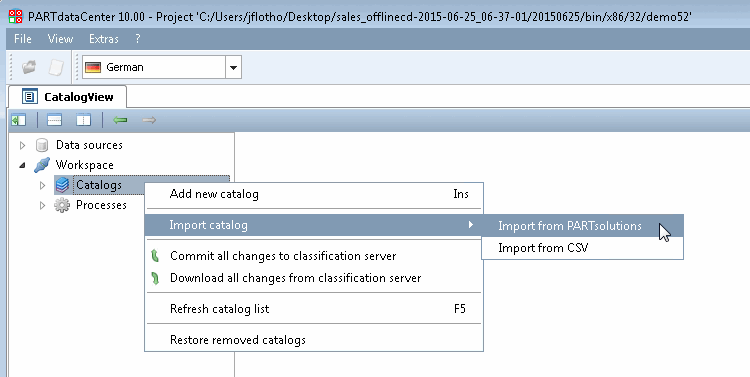
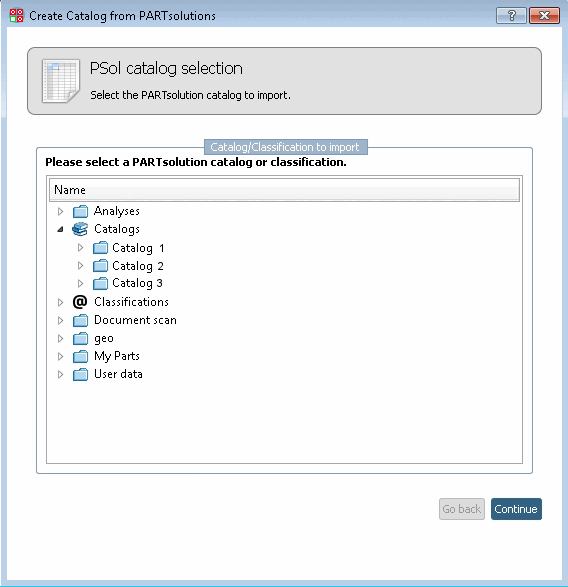
A PARTsolutions catalog has to be initially imported in PARTdataCenter.
In the context menu of catalogs [Catalogs], click on the menu item Import catalog -> Import from PARTsolutions.
-> The Create a catalog of PSOL dialog box opens.
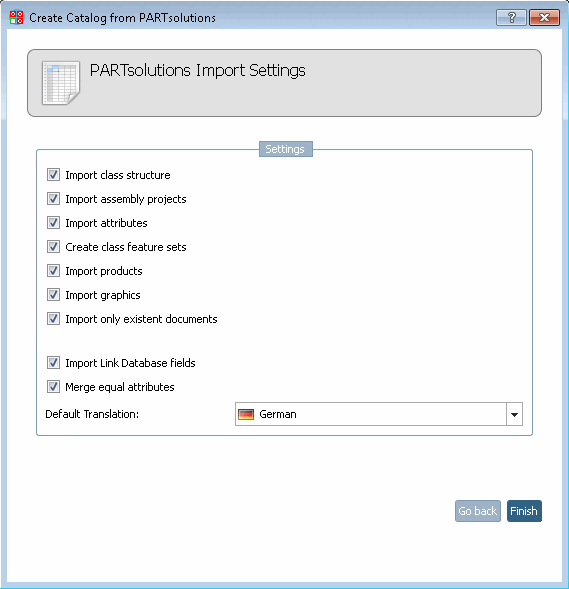
-> The setting options PARTsolutions-Import settings are opened. [PARTsolutions Import Settings]
Also activate Import existing documents only [Import only existent documents].
Option import link database fields [Import Link Database fields]: If the option is activated, the LinkDB columns are also imported and are available as class features.
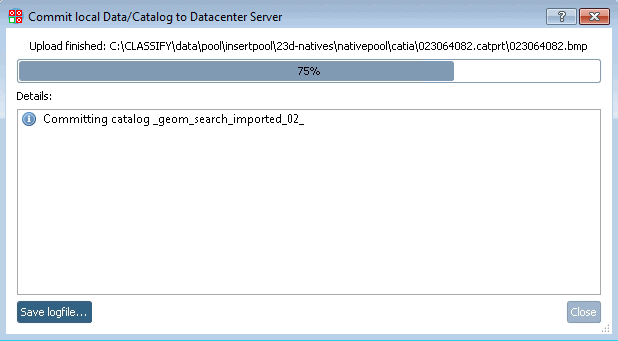
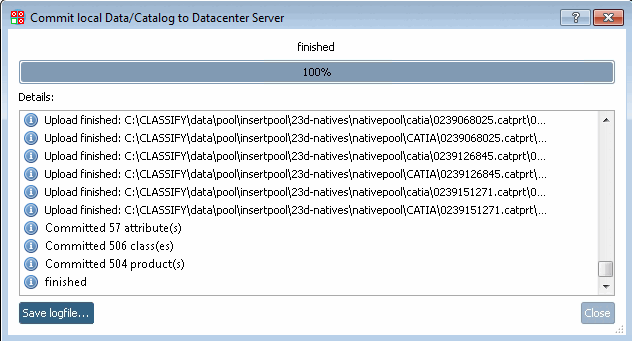
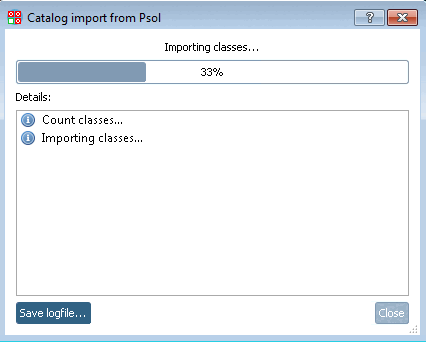
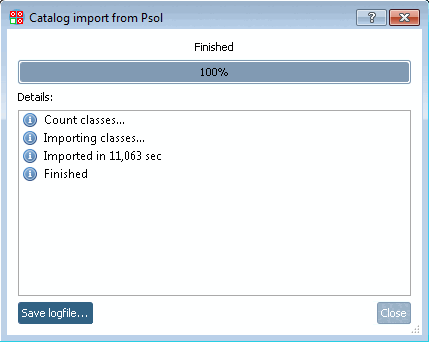
-> The PARTsolutions catalog is imported now. After finished import you will get the respective confirmation message.
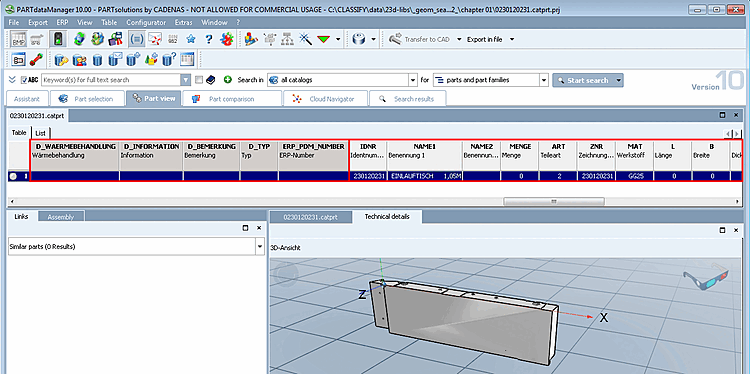
-> The standard user interface opens again. You can now see the imported catalog under the Catalogs menu item.
![[Note]](https://webapi.partcommunity.com/service/help/latest/pages/en/partsolutions_user/doc/images/note.png)