5.12.9. Classifying:
Use of templates and plugins 5.12.9.3.
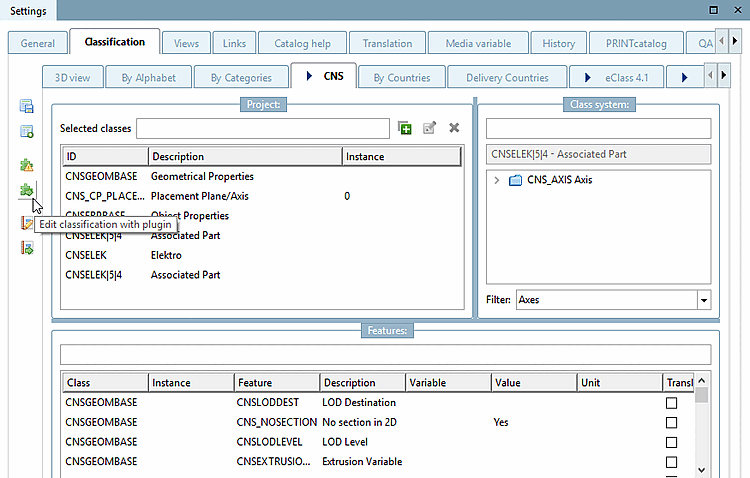
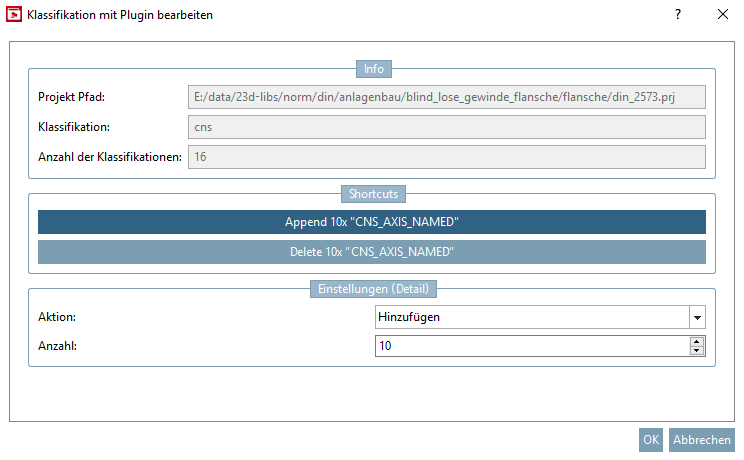
Edit classification with plugin
|  |
| Prev | Next |
With the help of plugins you can specifically assign classes and attributes to projects.
The following example shows the creation of the class "CNS_NAMED_AXIS" with its specific attributes.
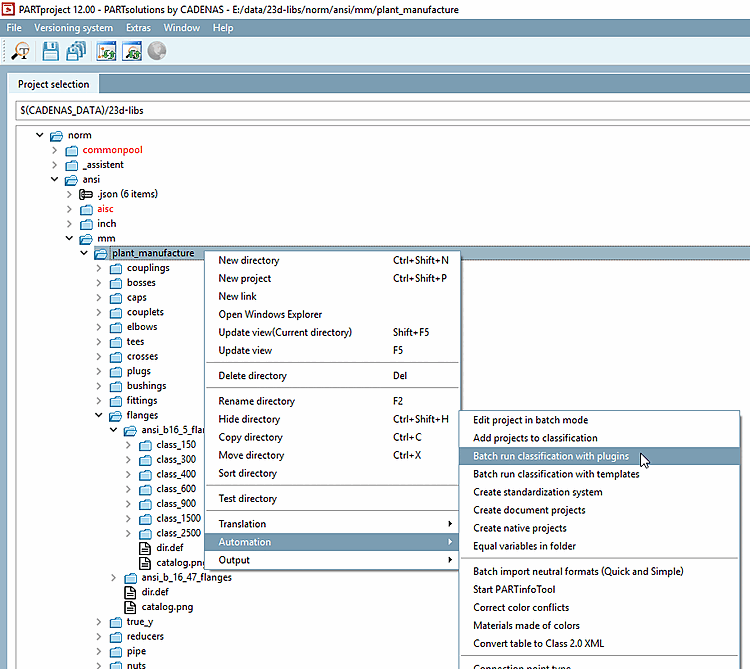
Under Project selection, select the project to which you want to apply the plugin.
Click on the button
 Edit classification with plugin.
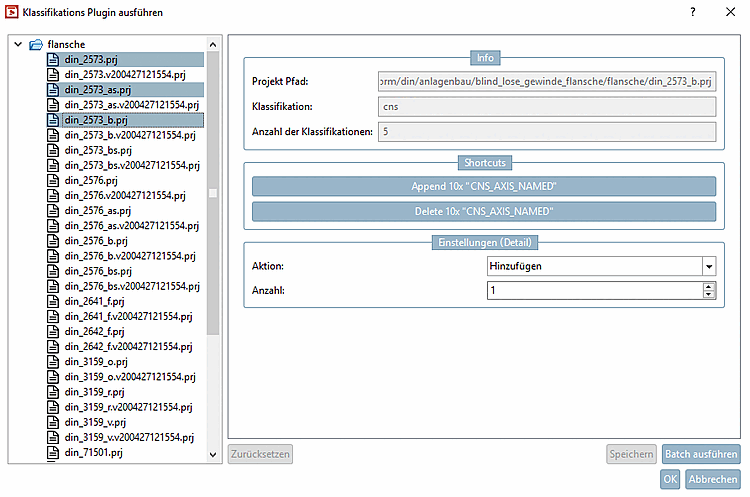
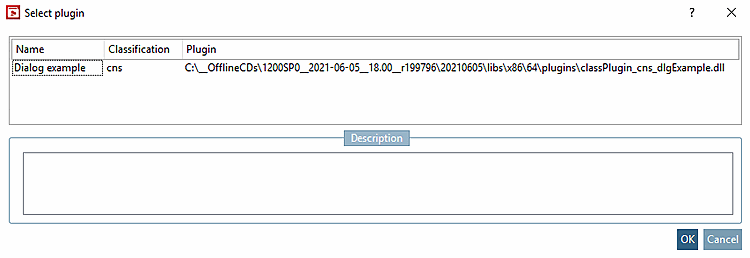
Select the desired plugin and confirm with .
(Currently only "CNS_AXIS_NAMED" exemplarily; can be enhanced depending on customer requirements.)
This example is designed so that under Action you can set whether the class should be added or removed and under Number [Count] you can specify the number of instances.
-> 10 instances of the class CNS_AXIS_NAMED have been created, each with its specific attributes).

On directory level, the plugin can also be executed via batch run.