With the help of the command Resolve value ranges... (PARTdesigner -> Extras menu), characteristics containing value ranges are split in separate characteristics.
Example 1 with a listing of discrete values
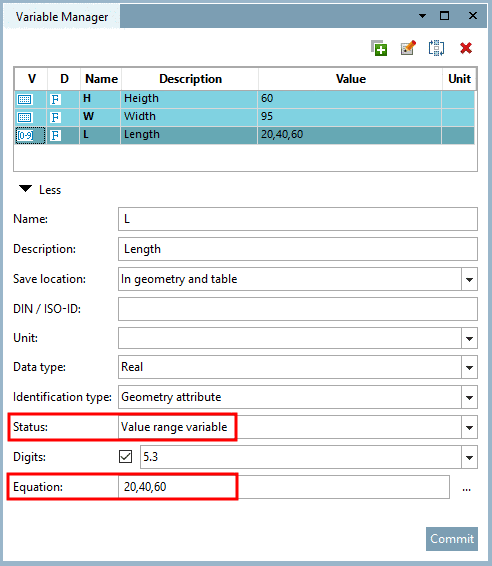
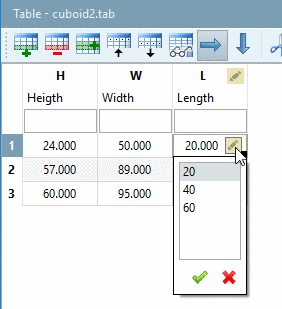
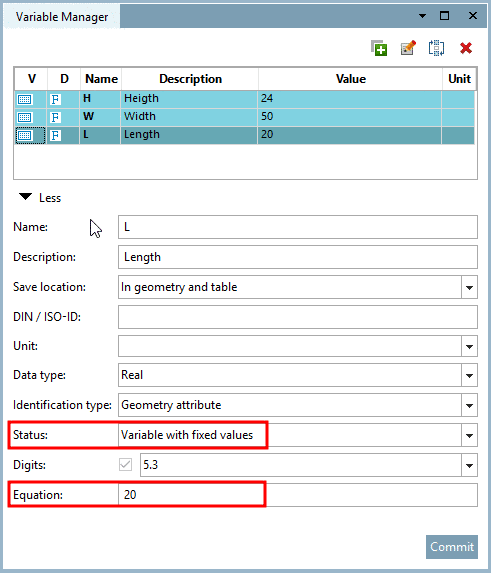
There is a table with value range variable „L“ which contains the values „20,40,60“.
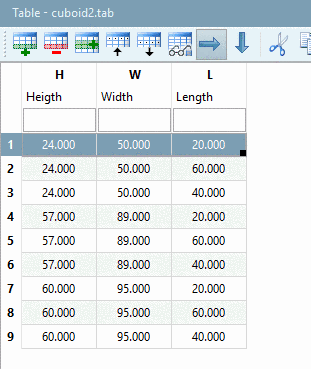
In order for the three list values to be assigned to each of the three rows and so to get nine separate characteristics, do the following:
Result: The table with resolved value range looks like this:
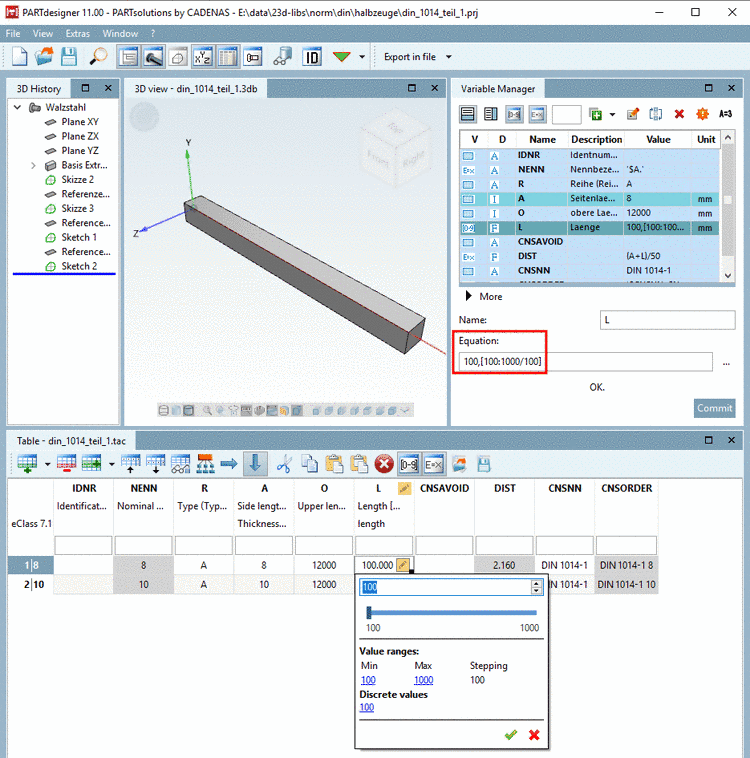
Example 2 with interval and defined step width
Click on the command Resolve value ranges.
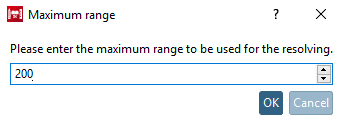
-> The dialog box Maximum range is opened.
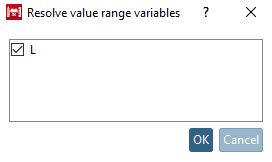
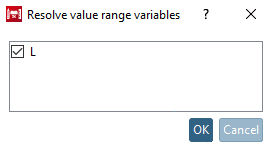
-> The dialog box Resolve value range variables is opened.
Activate the checkbox at those variables (here only „L“), whose value range you want to resolve and confirm with .
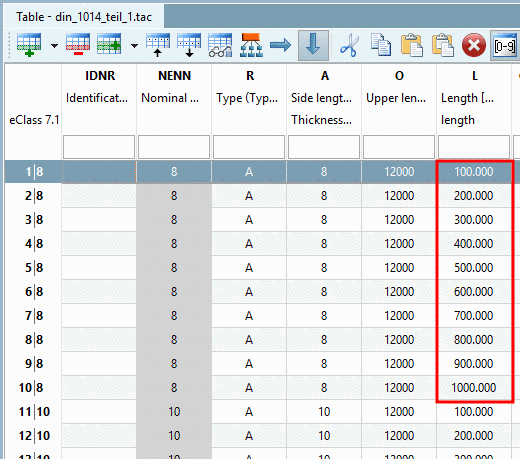
Result: Resolving has been processed with the defined step width of 100.


![[Note]](https://webapi.partcommunity.com/service/help/latest/pages/en/3dfindit/doc/images/note.png)
