3.3.2.3.3. Test run

  1. Start Teamcenter/NX.

  2. Click File -> New -> Item.

    [Note]Note

    For this test, use an assembly provided by customer.

  3. In the New dialog, on the tabbed page Model, under Templates, select a simple template (in this example "Model ").

    NX > Model tabbed page

    NX > Model tabbed page

  4. Start PARTdataManager or 3DFind.it.

    3Dfindit in NX

    3Dfindit in NX

  5. Select part and click Transfer to CAD.

    Transfer to CAD

    Transfer to CAD

    -> The view switches to NX.

  6. Place the part in NX.

    [Note]Note

    For a correct placing, macros are needed. The macros are stored under $CADENAS/iface/unigraphics/shared/macro and have to be stated in ifugnx.cfg -> block [Interface].

    If problems occur, possibly an adjustment with special version-dependent macros is needed in customer environments.

    Keys "placementmacro"

    Keys "placementmacro"

    Document in CAD

    Document in CAD

    If the part is correctly placed but not visible in the 3D view, open the Layer Settings via Ctrl+L and enable Layer 27 (Assemblies are placed on Layer 27 and this is not visible by default)

    Layer Settings

    Layer Settings

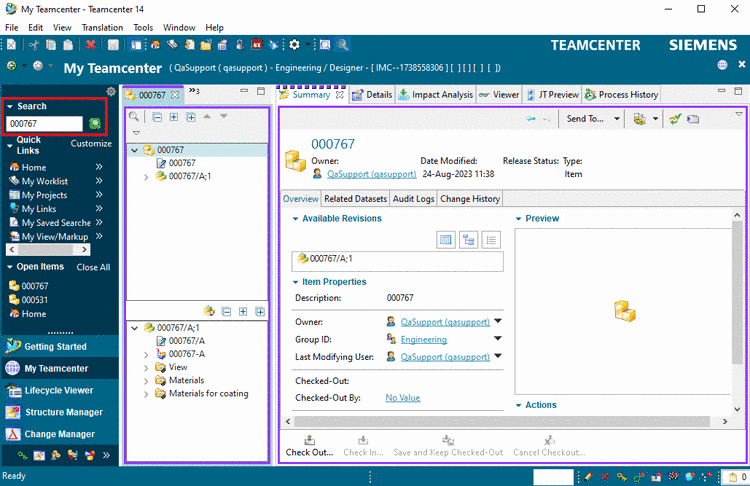
  7. Switch to Teamcenter.

    Search for the Item ID.

    My Teamcenter

    My Teamcenter

  8. Check whether the document is saved in Teamcenter[61] and whether it is added in PLMTABLE2.

    Open PLMTABLE2 in PARTlinkmanager via Extras menu -> Database -> Edit additional tables.

    Document in Teamcenter

    Document in Teamcenter


[61] Default without any special configuration in PARTsolutions is the last user folder.