In the following you will see how the control logic works.
We follow the "red thread" starting from the user interface.
In the Roles dialog area, select the "ECAT3" role and the Translations tab page.
Here, you can see the entry "Price Country USA" under "german", which you had selected before.
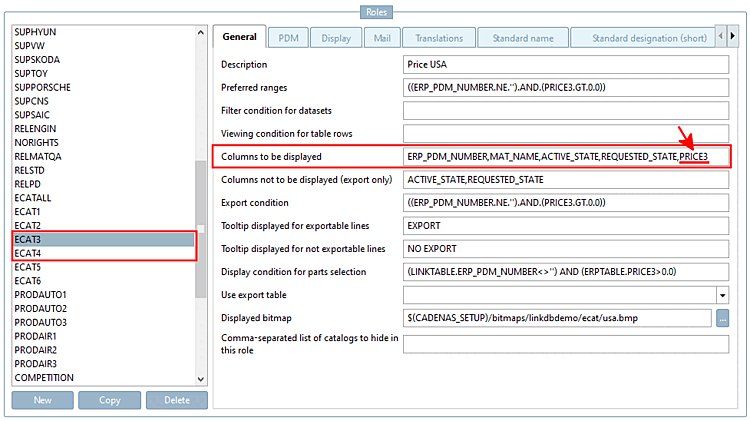
Switch to the General tab page.
The "PRICE3" column is entered under Columns to be displayed. If you select the role "ECAT4", you will see the column "PRICE4" ("Prices country GERMANY").
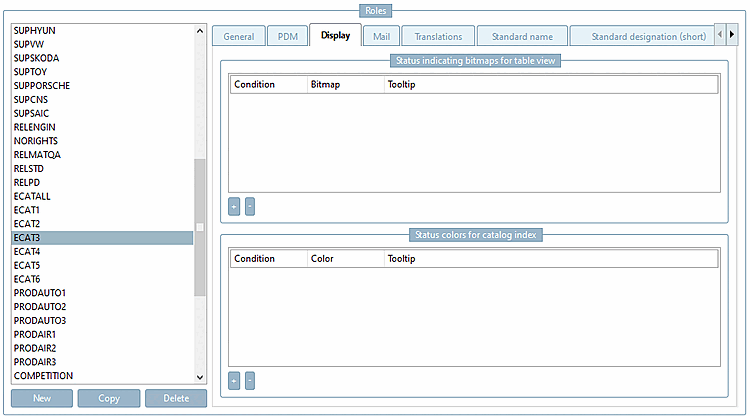
Switch to the Display tab page.
-> This page is empty. Always when there are no entries here, the standard depiction green/semi-transparent is used, which applies for the roles "ECAT3" and "ECAT4".
Select "DUMMY " in the list of roles on the left.
-> Here you can see various entries in the dialog areas Status bitmaps for table and Status colors for catalog index.
Exactly these bitmaps and colors have been displayed in the part selection and part view after the first login.
The first login happened with Windows username and the assigned standard role.
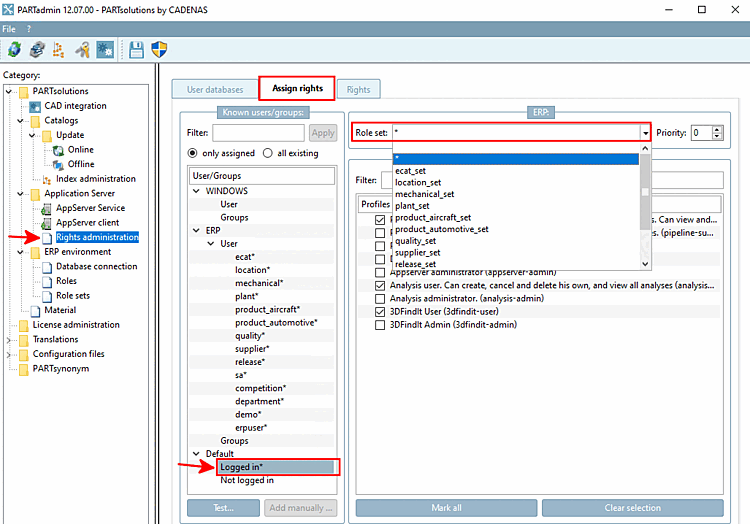
Switch to the Rights management [Rights administration] category in PARTadmin.
Select the Rights assignment [Assign rights] tab page, under Users/Groups [Users/groups] select Logged in * and open the list field under Role set.
Select Category Role records [Role sets] and the placeholder symbol (asterisk) in the Role record [Role set] dialog area.
-> You will now see the roles assigned to the corresponding role set on the right under Available roles and their display sequence [Available roles and their display order]. These are exactly the roles that were offered to you after the initial login.
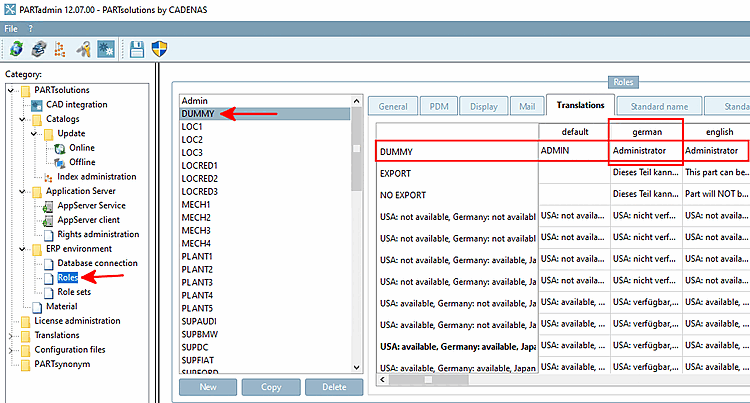
Select category Roles, role "DUMMY " and tab page Translations.
In German, for the "Dummy" role, "Administrator" is shown in the role selection dialog.


![[Note]](https://webapi.partcommunity.com/service/help/latest/pages/en/3dfindit/doc/images/note.png)

