5.14.1. Creating ERP numbers
5.14.1.1. How and from
where datasets come into LinkDB? - An overview |  |
| Prev | Next |
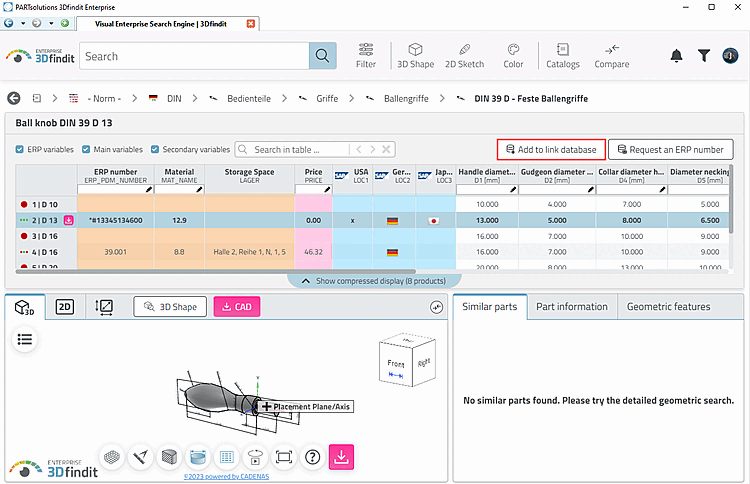
In 3Dfindit via the button
 Add to link database or in PARTdataManager via the button
  Add data [Add dataset to link database] record to link database
-> The New ident number [new ident-no.] input window opens, which can be freely configured (see Section 5.12, “ Design "New ident number " dialog box - erpcustom.cfg -> Block [USERDIALOG] ”). Material, prices or any other fields from the LinkDB can also be displayed here, for example.
Directly by clicking on (3Dfindit and PARTdataManager analog). See Section 5.14.1.2.3, “ Create ERP number directly on export ”.
Import into the LinkDB from the directory tree using Import this project into the database [Import this project in database].
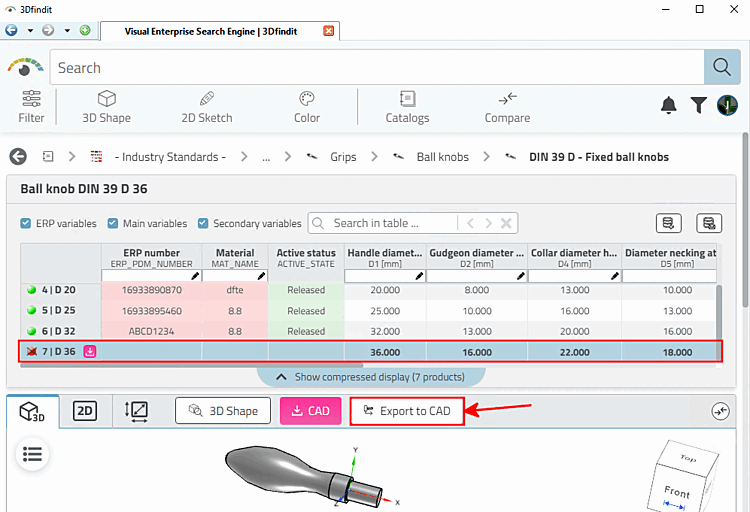
These data records do not yet have an ERP_PDM_NUMBER and are displayed as a red line after the import.
See Section 5.14.1.3.1, “Import a project into LINKDB – Assign ERP number ”.
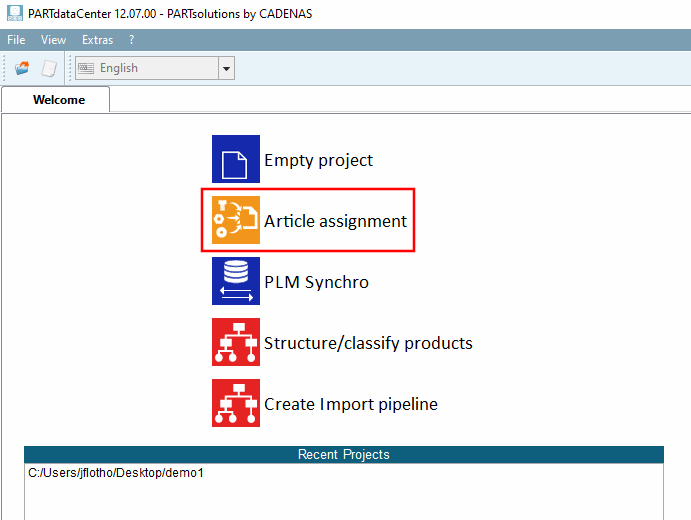
During the initial filling of the LinkDB with PARTdataCenter. See Section 1.1, “ Article assignment (initial filling of the LinkDB) ” in PARTwarehouse.
![New Ident Number [new ident-no.] dialog box - variant 1](https://webapi.partcommunity.com/service/help/latest/pages/en/3dfindit/doc/resources/img/img_711677ce396249dfbcb1eb52ea678874.png)
![New Ident Number [new ident-no.] dialog box - variant 2](https://webapi.partcommunity.com/service/help/latest/pages/en/3dfindit/doc/resources/img/img_f1e38a6ddf7b4ad291aba18967a7c672.png)