
In PARTadmin under category Catalogs → Update → Online the login procedure and the settings page have been changed.[49]
When you initially log in, the Catalog update Tabbed page is grayed out and "You have not yet logged in for the catalog updates. [You have not yet logged in for the catalog updates.]" appears above the button.
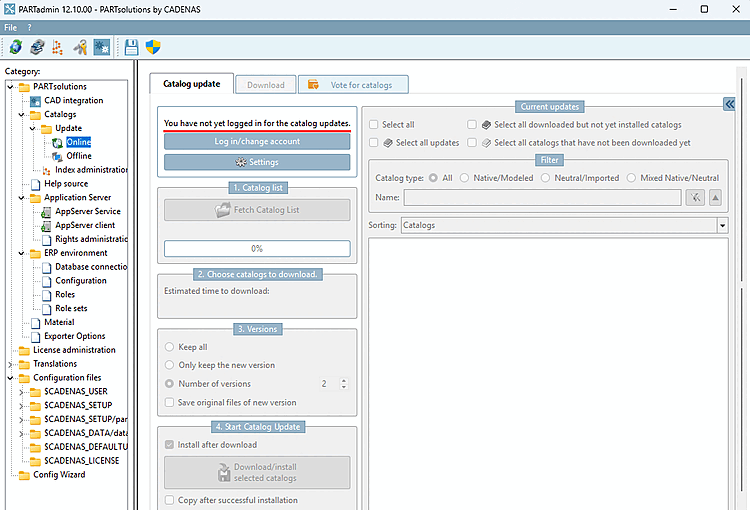
→ The Authenticate user dialog page opens and shows the login dialog.
Fill out the form and click on the button.
→ The following display appears:
"You need to verify your e-mail address"
Confirm the e-mail address in your e-mail account and then click on "Click here to continue".
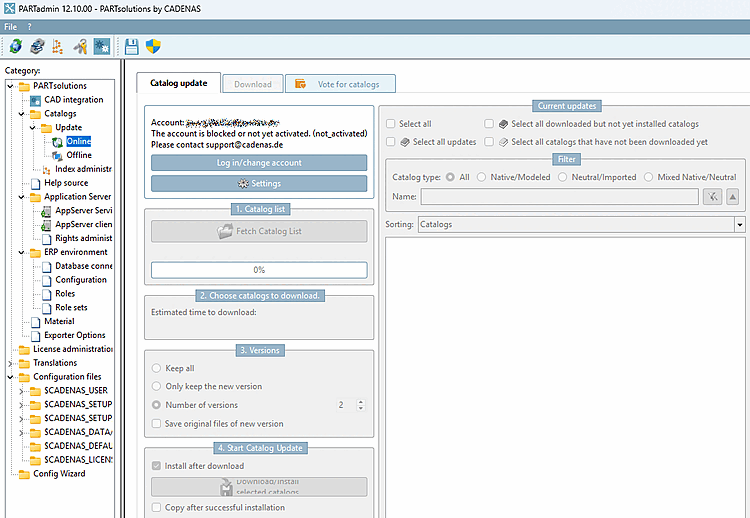
If you now try to log in, the following message will first appear:
"The account is blocked or not yet activated."
As a rule, the account will be activated within the next 24 hours.
You can then register or log in with your e-mail address and password (see above).


The settings [Settings] dialog page has also been changed.
You can log in via the button (just like on the main page).
New: Use incremental updates if possible (activated by default)
New: Disk cache under
$CADENAS_USER/partupdate_cache, which all images, release notes and parts lists for already downloaded Caches catalogs.As the client and server understand the "if-Modified-Since" protocol, this automatically speeds up repeated access, as the cache is not deleted between restarts.
The size can be seen on the settings page under Local cache size [Size of the local cache] and the cache can be deleted there using the button if it becomes too large.


