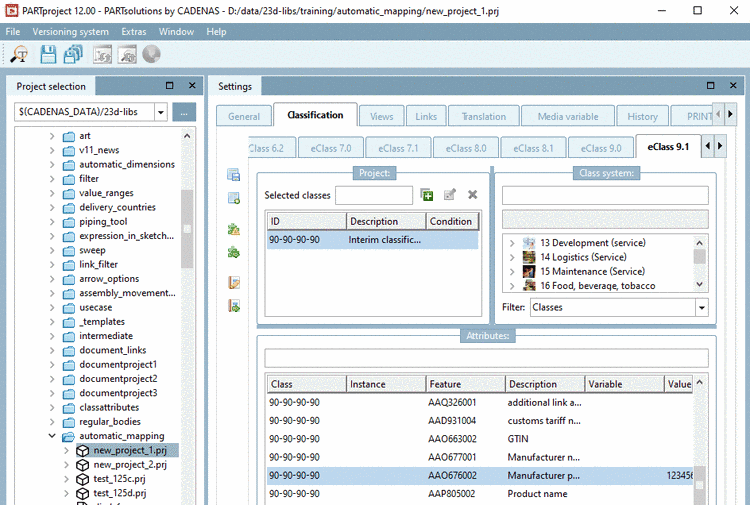
As of V12 there is a new function Automatic Class Mapping: Edit....
In the following example, a class attribute of the CNS classification shall be mapped to a class attribute of the eClass 9.1 classification. That means, beginning in the upper table (Mapping between classes), class data is entered and then attribute data in the lower table (Mapping between characteristics).
In the upper table, click on
 Add System.
-> The same-named dialog box is opened.
With the exact wording in lower case, enter the name of the desired classification and confirm with .
Target System: With exact wording, in lower case, enter the name of the desired classification and confirm with Enter.
Target Class: Open the list field and select the desired class.
Number: By default, one instance is created. However, you can create multiple instances of the class.
Bidirectional: By default, mapping only takes place in the stated direction. When activating this option, there is a mapping from Origin Class to Target Class and the other way round.
Copy features: All identical attributes are copied. This option excludes entries in the lower table.
Copy mapped features (default): Only those attributes are mapped, which have been stated in the lower table explicitly.
With exact wording in lower case, enter the name of the desired classification and confirm with .
Origin Class: Open the list field and select the same class as in upper table. Alternatively, you can use the wildcard symbol (*), (which affects the performance negatively.)
Origin Characteristic: Open the list field and select the desired attribute.
Target System: With exact wording in lower case, enter the name of the desired classification and confirm with Enter.
Target Class: Open the list field and select the desired class.
Target Feature: Open the list field and select the desired attribute.
Copy Characteristic Name ("Copy Variable Name"): Select this option, if a certain variable shall be mapped.
Copy Characteristic Value: Select this option, if a fixed value shall be mapped.
Value Mapping (optionally): Click on the button
 , if you want to adjust the original
value.
, if you want to adjust the original
value.-> The same-named dialog box is opened.
With entries under Original Value and Target Value, you can adjust the target value. After confirming with , the button looks like this
 .
.Objective Unit (optionally): If a unit is stated, a conversion of the value is automatically performed.
Execute the mapping by clicking .
Details on this can be found under Section 5.12.17, “ Automatic Class Mapping: Edit... ” in eCATALOGsolutions Manual.


![[Note]](https://webapi.partcommunity.com/service/help/latest/pages/en/installation/doc/images/note.png)


