3.5.4.2.1.2. Revit: Roof
window
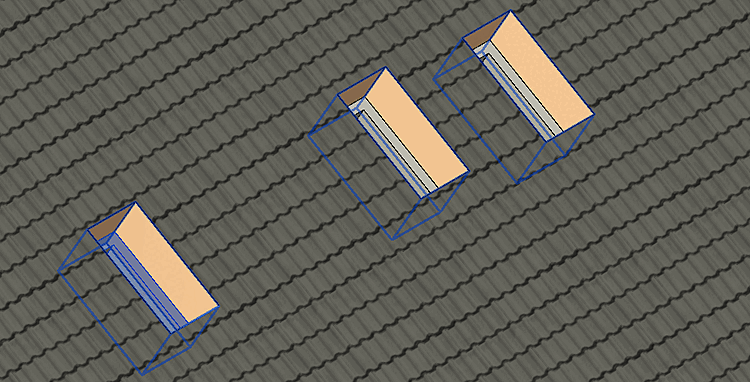
If roof windows
are accordingly classified, when placing in Revit, a fitting opening is
automatically created in the roof and the window is oriented to the roof
pitch.
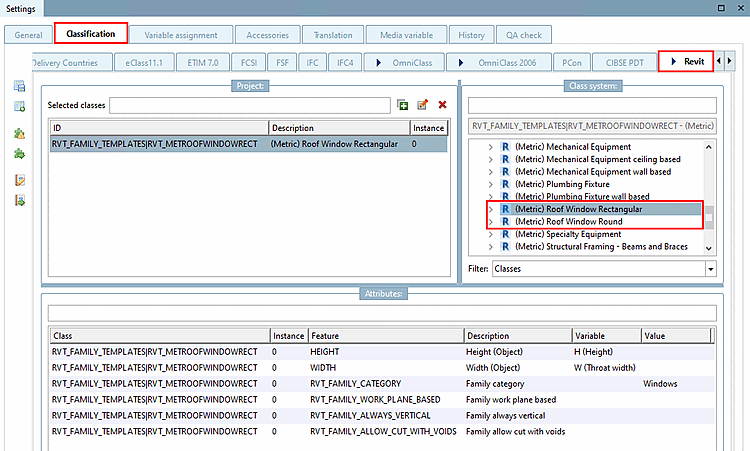
The appropriate class must be used for rectangular and round skylights.
Furthermore a
correctly set connection point has to exist.
3.5.4.2.1.2.1. Connection
point There must be a connection point CNS_CP_PLACE_PC.
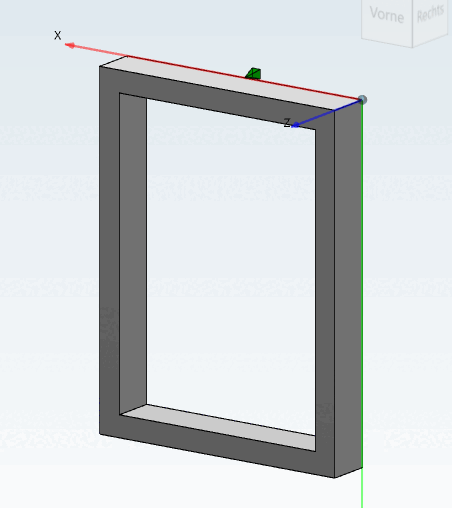
For
rectangular roof windows, the connection point has to be in the middle
of the bottom edge.
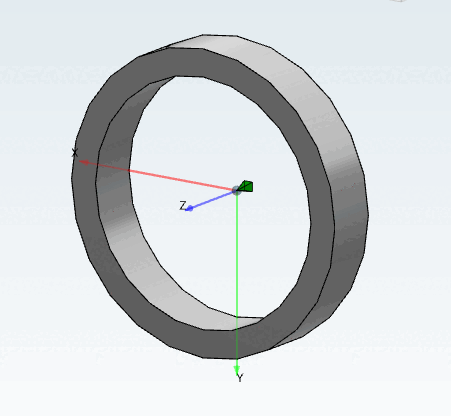
For round
roof windows, the connection point has to be in the center.
The planar
side of the connection point has to point in direction of the
roof.
3.5.4.2.1.2.2. Classify with
Revit family template
The "HEIGHT " and "WIDTH " or "DIAMETER " feature is used to create the height and width or diameter of the opening to be created.
Set the value for feature RVT_FAMILY_CATEGORY to Windows so that the object is recognized or classified as a window in Revit. If it is an assembly, assign the template to the file *_asmtab.prj and classify it.
![[Important]](https://webapi.partcommunity.com/service/help/latest/pages/en/partwarehouse/doc/images/important.png) | Important |
|---|
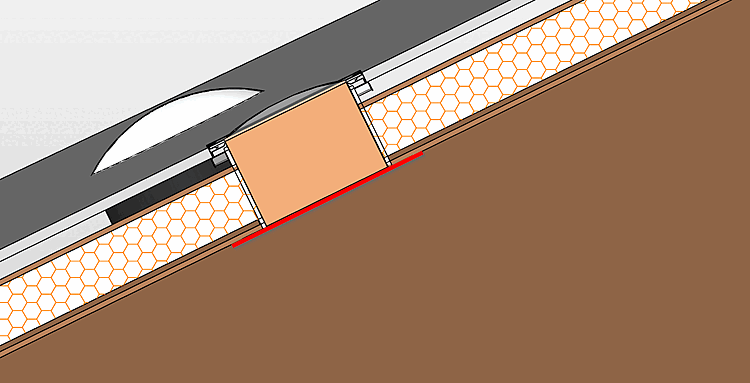
The roof
window is aligned with the roof's lower reference plane, meaning the
inner side. Should the roof window be aligned with the outer side,
have a protrusion or any offset from the roof's lower reference plane,
this has to be considered during the modeling. Where appropriate set
the connection point (CP) to a separate level, which then can be
controlled by a variable.
The roof's
thickness can not be queried, so that the planner has to consider this
when selecting the roof window (in PARTdataManager table). |