Make sure that
the correct macro template is active in ifugnx.cfg and perform a
placing with a test part. Ideally, all settings in the template are
already designed as actually required. In this case any adjustments are
unnecessary.
Otherwise perform the steps of the following instruction.
Make sure that "Solid-Layer (by default 27)" is activated.
Perform a placing as a test. Then for the macro recording you should not make a mistake.
Determine the macro's storage location and file name and confirm with . Save the macro, best in the directory intended for this purpose under
...\iface\unigraphics\shared\macro\cns_place_....macro.-> The record is immediately started.
-> The Part Name dialog is opened.
Select any part (not assembly).
Open the list field under Assembly Location and select the option Absolute - Work Part.
Optional: Change the setting under Placement from "Move" to "Constrain".
Optional: Under Settings -> Interaction Options, disable the option Preview and enable Preview Window.
For the macro recording a concrete sample part had been used. Places containing references to this part have to be replaced by common place holders now.
If you like replace your username by "administrator", for example. (Doesn't matter for functionality.)
Search the place with FILE_BOX and MULTI_SELECT (at the end of macro)
FILE_BOX -2,@@@D:\cadenas\partsolutions\data\pool\ugnx\16212479780_3211281_
 Supplier dependence.prt@@@
D:\cadenas\partsolutions\data\pool\ugnx\*.prt@@@ 0 ! Part Name
MULTI_SELECT: D:\cadenas\partsolutions\data\pool\ugnx\16212479780_3211281_
 Supplier dependence.prt
and replace these two lines by the following:
FILE_BOX -2,@@@<<CNS_FILENAME>>@@@<<CNS_DIRNAME>>*.PRT@@@ 0 ! Part Name
   MULTI_SELECT: <<CNS_FILENAME>>
Shortly below the just edited line you can find the file name of the part used for the macro recording.
ASK_ITEM 71172097 (1 STRN 0) = "16212479780_3211281_SUPPLIER DEPENDENCE"  !
 Component Name
Delete the file name, meaning the entry between the quotation marks and leave the quotation marks themselves.
ASK_ITEM 71172097 (1 STRN 0) = "" ! Component Name
Optionally, you can delete the following lines at the file end.
WINDOW RESIZE 1.000000 10.822917 7.906250 -1.000000 -0.730510 1.000000 0.730510
WINDOW RESIZE 1.000000 10.822917 7.906250 -1.000000 -0.730510 1.000000 0.730510
WINDOW RESIZE 1.000000 10.822917 7.906250 -1.000000 -0.730510 1.000000 0.730510
WINDOW RESIZE 1.000000 10.822917 7.906250 -1.000000 -0.730510 1.000000 0.730510
WINDOW RESIZE 1.000000 10.822917 7.906250 -1.000000 -0.730510 1.000000 0.730510
Set placement macro in
ifugnx.cfgTest the macro by using PARTdataManager once with a part and once with an assembly, possibly once again with an inch part.
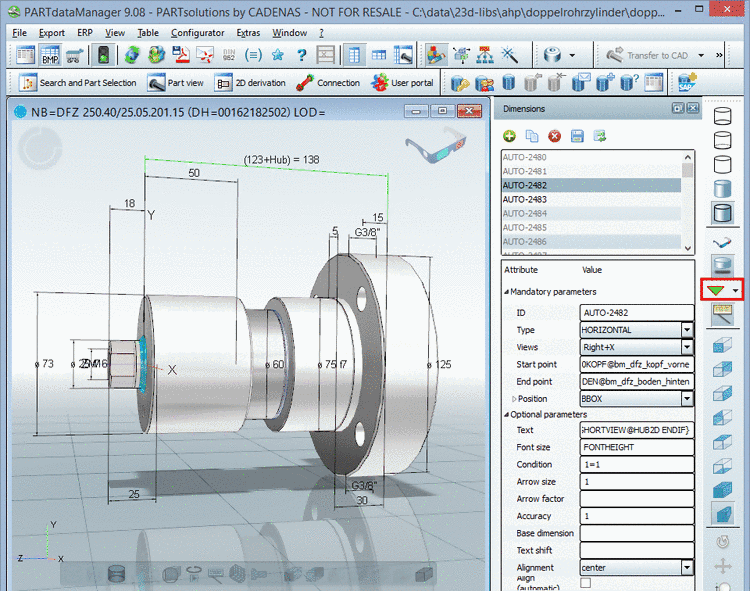
After the part is transferred, click on the green arrow (native placement dialog).
-> Now the NX placement dialog should show exactly those settings which had been applied when recording the macro.
Optional checking: Have a look into the macro file
cns_place.macro, in the user directory.After each export it should show exactly the currently used replacements.


![[Note]](https://webapi.partcommunity.com/service/help/latest/pages/en/3dfindit/doc/images/note.png)
