3.5.1.
Insert from the Standard and Purchased Parts Library via
"3Dfindit"
3.5.1.2. Placement Dialog - Pattern Recognition
|  |
| Prev | Next |
If there are patterns in the placement section, they are recognized and a corresponding dialog box appears.
In CAD, the part to be placed is loaded, and the is clicked.
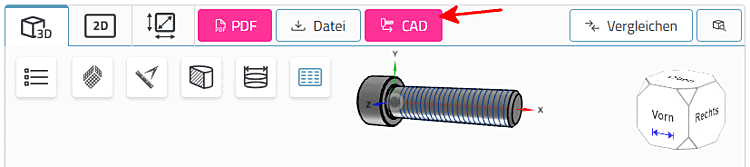
-> The view switches back to the CAD window, and the placement dialog opens.
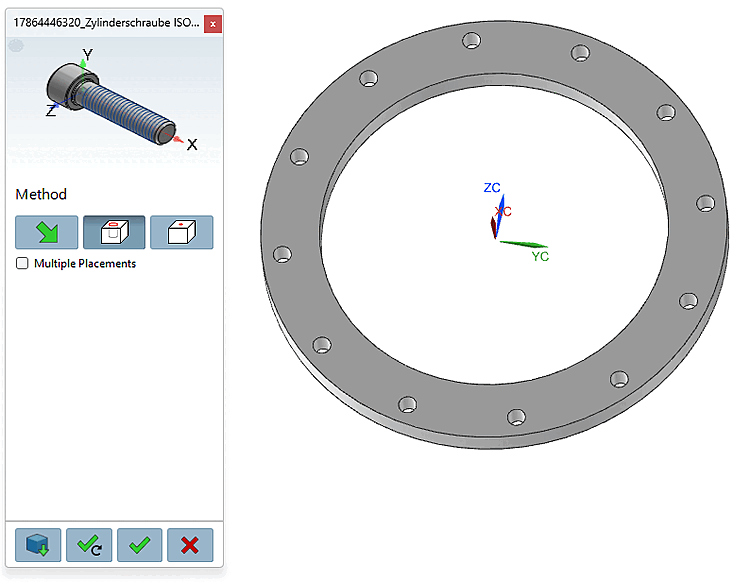
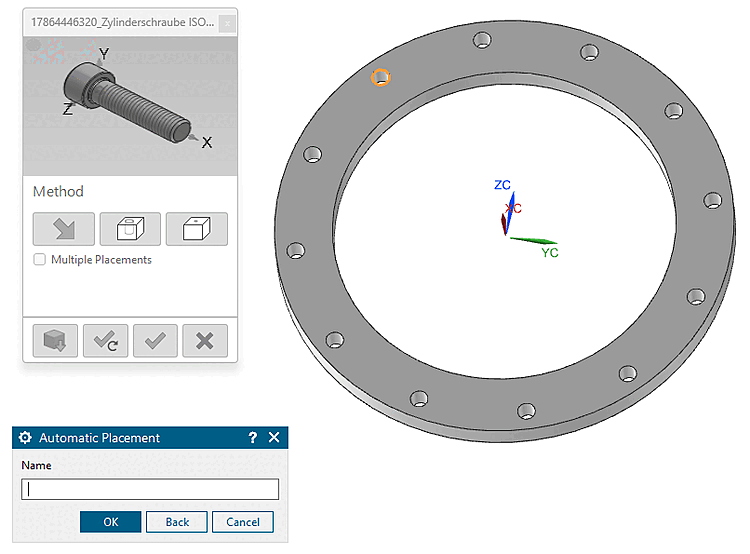
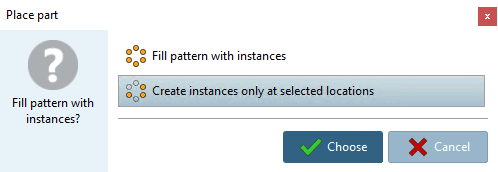
-> The [Place part] " Place Component" [Place part] dialog box appears [Place part] with the prompt: " Do you want to fill the pattern with instances ?" [Fill pattern with instances?]
Click the Place Multiple [Place multiple] button
 (dialog remains open at the end) or Place Once [Place once] button
 .
.
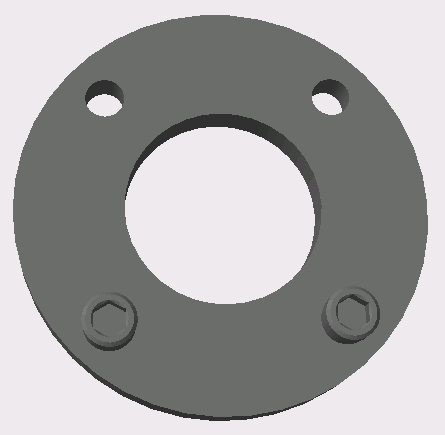
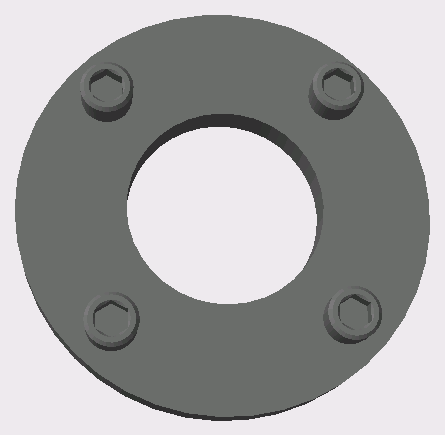
-> The desired instances are placed.
If necessary, close the 3Dfindit Close the placement dialog using the dialog [Close dialog]
 .
.

In addition,
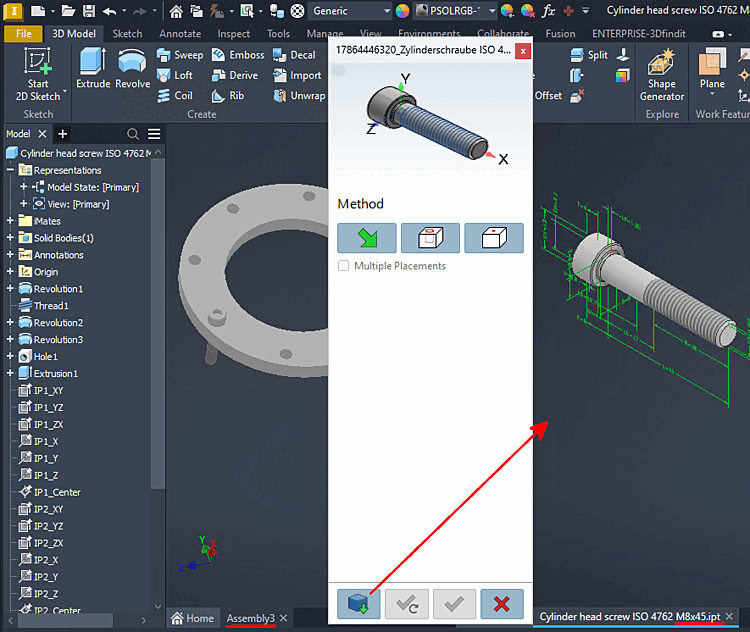
, you have the option of opening a component in a separate CAD window using the  button.