7.6.2. Listing of all possible features in the "3D history " docking window 7.6.2.13.
Text Feature
|  |
| Prev | Next |
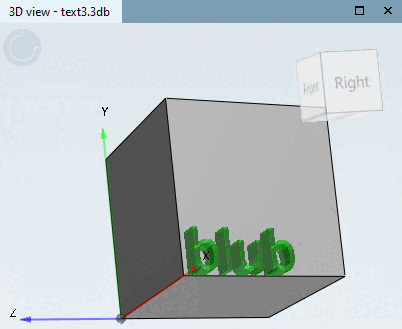
Texts can be placed on component surfaces using the text feature [Text].
A font must be stored in the catalog root directory for this. The default case is that this is not the case. A corresponding folder "_fonts" is then automatically created with a default font.
If you want to use your own font, create it at catalog level under Settings -> General tab -> Catalog settings [Settings for the catalog] -> Manage fonts.
![[Note]](https://webapi.partcommunity.com/service/help/latest/pages/en/partsolutions_user/doc/images/note.png)
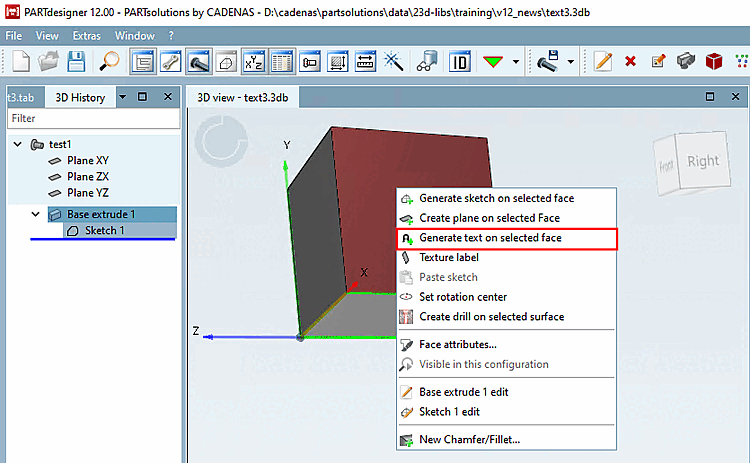
Call up the corresponding dialog in the 3D view using the context menu command Create new text on selected area [Generate text on selected face].
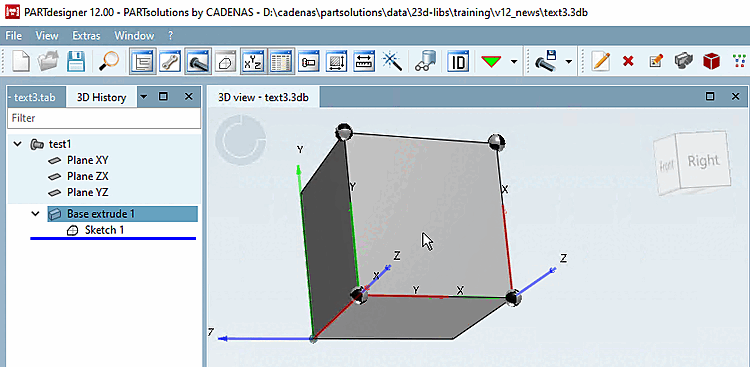
Near the desired zero point ("sphere"), select the desired text orientation (red X axis). The blue arrow then points in the positive direction of extrusion.
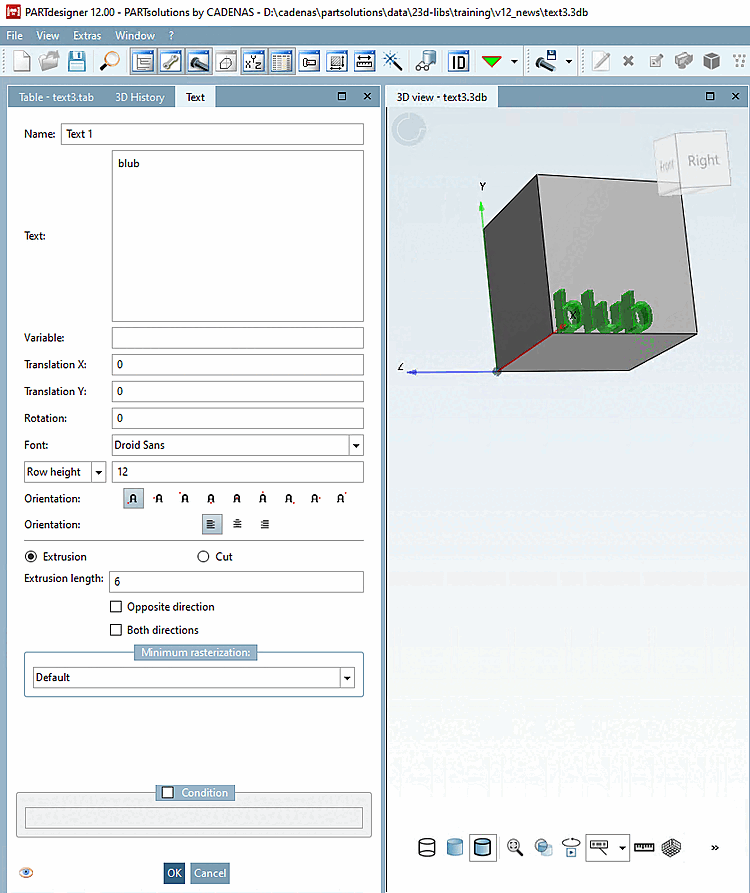
Complete the dialog and confirm with .
You can enter free text (Text [Text] ) or get the text from a variable (Variable [Variable] ).
Font: If no custom fonts have been created, the "Droid Sans" font is used automatically. Otherwise, you can select one of the fonts created in the list field.
You can specify the text size via line height [Row height] (base unit, e.g. mm) or font size [pt] [Font size [pt]].
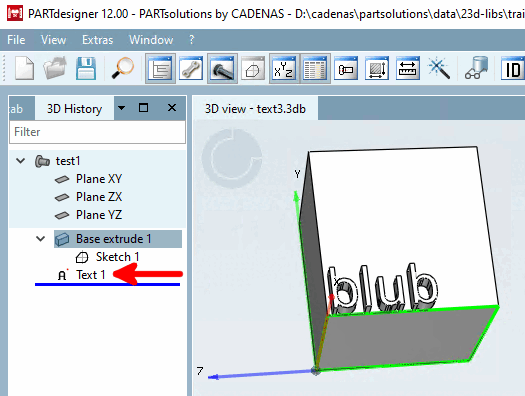
-> In the 3D history [3D History], the corresponding icon
 and the name assigned in the dialog are displayed.