| ||||
[a] This special setting is only required, if many different colors shall be used based on one and the same texture or if colors shall be controlled by variables. | ||||
In the dialog box Edit material for 3D preview, you can perform the following settings:
At the very top a dummy part is shown, which mirrors all settings. In particular, this is useful to adjust the scaling. You can choose dummy parts of different shapes and sizes in order to get a realistic impression.
Color, Percentage Metallic and Roughness: In the simplest case only make settings here and none under Extended.
In the dialog area Extended below you can perform the following settings:
The option Mix color with color texture in fact is only needed, if based on one and the same texture a lot of different colors shall be used or if colors shall be controlled by variables.
In the standard case you will use a deactivated option Mix color with color texture.
Then preferably use textures which have exactly the desired color.
AND due to compatibility reasons, in parallel set a matching color under Color.
Caution: Nevertheless, the desired color has to be set, because a) textures are only displayed in CADENAS software (PARTdataManager, PARTproject, …) and will not be exported to CAD systems and b) colors are already displayed while the texture is still loading when opening a part.
The exact effects of this option can be seen in the matrices. See Section 5.9.2.8.3, “Rendering matrices”. The shortcut "mix" stands for this option.
In the following the different combination possibilities are described:
Mix color with color texture: Off
Only color, no entry under Color texture and/or Normalmap:
-> The color is used (for view and export).
Entry under Color texture and/or Normalmap:
-> The texture is used for view.
-> The color is used for export.
Mix color with color texture: On
The color values of texture are not considered, only the brightness values and then these are mixed with the set color.
Color texture: With a click on , select desired image file.
![[Note]](https://webapi.partcommunity.com/service/help/latest/pages/en/3dfindit/doc/images/note.png)
Note If graphics from Internet are used for the texture, it has to be checked, if it is a graphic with CC0 license (Creative Commons Public Domain) and can be used without attribution. (On this also see above.)
Adjust the Scale according to part size, in order for the texture to be optimally overlaying the part (repetition of pattern. The declaration of value is in mm.
A scale of 300 means, that a - quadratic - color texture is exactly mapped one time to a - quadratic - area with length/width of 300. When changing the scale to 100, for example, the color texture is mapped 9 times ((300/100)^2).
Via Rotation, determine the orientation of texture.
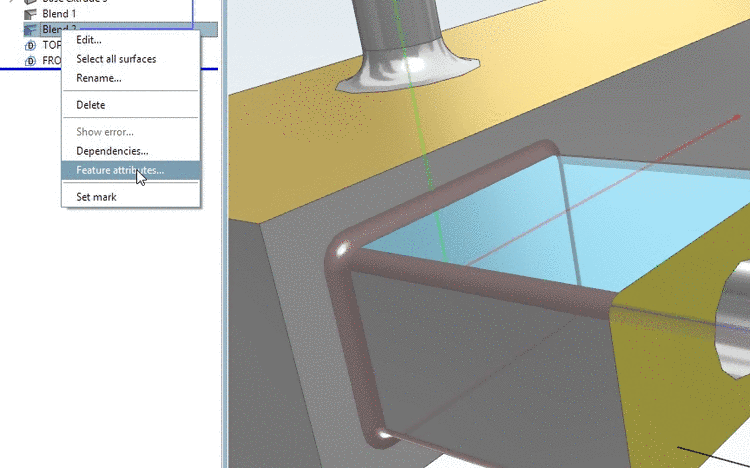
The model depicted below is a part and the texture is globally from top to bottom in direction of Z axis.
When selecting the horizontal cylinder in PARTdesigner and overlaying the same texture there, however, now rotated with 90° it will look better.
Normalmap (Bumpmap): Select the desired image file by clicking on .
![[Note]](https://webapi.partcommunity.com/service/help/latest/pages/en/3dfindit/doc/images/note.png)
Note Textures should always be downloaded and saved with an associated normal (-> Normalmap) with the same resolution.
Please regard further notes on textures above.
Transparency: For transparent materials like glass, perspex, etc., the use of transparency can be appropriate.
Once in the dialog Edit material for 3D preview "Transparency" is set, the setting under Color and texture -> Color is overwritten.



![[Tip]](https://webapi.partcommunity.com/service/help/latest/pages/en/3dfindit/doc/images/tip.png)
